How to get better at skiing comes down to three things most skiers skip: take a lesson as an intermediate, not just as a beginner; ski more varied terrain at slower speeds rather than the same blue runs faster; and arrive at the season fit, with legs that can hold a turn for a whole run. Almost every intermediate plateau is a technique habit, and technique habits are fixed by feedback, not mileage.
That last line is the one worth sitting with. The most common skier in America is somebody who has skied for years, is comfortable on groomed blue runs, occasionally tries a black and hates it, and has not had a lesson since the first day. They are not getting worse. They are not getting better either. Every extra day on the same runs reinforces the same habits.
This guide is about getting off that plateau. It explains how ski instructors actually grade ability, the handful of technique changes that separate an intermediate from an advanced skier, how to approach the terrain that scares you — moguls, powder, trees and steeps — and how to prepare your body so your legs are not the thing that ends your day at 2pm. It also covers the parts nobody enjoys talking about: fear, injury and altitude.
What are the ski levels, and where are you?
Ski schools in the United States use the PSIA-AASI American Teaching System, which grades skiers on nine levels grouped into three zones: Levels 1 to 3 are beginner, 4 to 6 are intermediate, and 7 to 9 are advanced and expert. The zones map onto the three levels of PSIA instructor certification, so a Level 6 skier is taught by someone certified to teach that zone.
A rough self-assessment, using the zones rather than the individual numbers, because resorts describe the levels slightly differently:
| Zone | Levels | You can… | You cannot yet… |
|---|---|---|---|
| Beginner | 1–3 | Stop, turn in a wedge, ride a chairlift, ski greens | Bring your skis parallel through a whole turn |
| Intermediate | 4–6 | Ski parallel on groomed blues, handle easy blacks when the snow is good | Ski moguls, powder or steeps with control and rhythm |
| Advanced | 7–9 | Ski any groomed terrain and most off-piste with control, adapt to conditions | Nothing is off the table, only the conditions choose for you |
The intermediate zone is where most skiers live, and where most stall. Level 4 to Level 6 is a big jump in skill, and it is where the habits formed as a beginner — leaning back, skidding turns, looking at your ski tips — start actively preventing progress. Our ski levels explained guide breaks down all nine levels individually.
Be honest when you book a lesson. Overstating your level is the most common reason group lessons go badly: you end up in a class that is too advanced, spend the day scared, and learn nothing. Underestimating slightly is the better mistake.
Why do intermediate skiers stop improving?
Because the habits that got you onto blue runs are the same ones that stop you skiing black runs well, and more days on the same terrain only deepens them. Leaning back, skidding the tails, rotating the upper body into the turn and looking down at the skis all work on a groomed blue. None of them work on steeps, moguls or powder.
The pattern is consistent enough that ski instructors recognise it within one run:
- Sitting back. Weight on the heels, hips behind the feet. It feels safe because it slows you down, but it removes steering from the front of the ski and exhausts your thighs.
- Skidding instead of edging. Turns are made by pushing the tails sideways rather than tipping the ski onto its edge and letting it bend. It works on groomers and falls apart on anything firm or steep.
- Upper body rotation. Shoulders swing into each turn, dragging the skis around. It is slow, tiring, and makes rhythm in moguls impossible.
- A static stance. Legs locked in one flexed position all run, with no extension and flexion through the turn.
- Looking at the tips. Your skis go roughly where your eyes and chest point. Looking down means you react to terrain rather than planning it.
The fix is feedback. None of these habits are visible from inside your own body. A lesson, a video of yourself shot by a friend on a phone, or both, will show you in ten seconds what a hundred more days of skiing will not. That is the single highest-value thing in this guide.
What are the technique fixes that matter most?
Five, and they compound. Get the first two and the rest start to happen by themselves.
1. Stand in the middle of the ski
Your shins should be touching the fronts of your boots through the whole turn. If you can feel the back of the boot cuff on your calves, you are sitting back. A useful drill: ski a gentle groomer with your hands held forward where you can see them, as though carrying a tray. If your hands drop behind your hips, your weight has gone with them.
2. Tip the ski, don’t push it
Turn by rolling the ski onto its edge from your feet and ankles, and let the ski’s sidecut — its curved shape — pull you around the turn. The sensation is of the ski turning you rather than you turning the ski. This is the beginning of carving, and how to carve on skis takes it through properly.
3. Quiet upper body, active legs
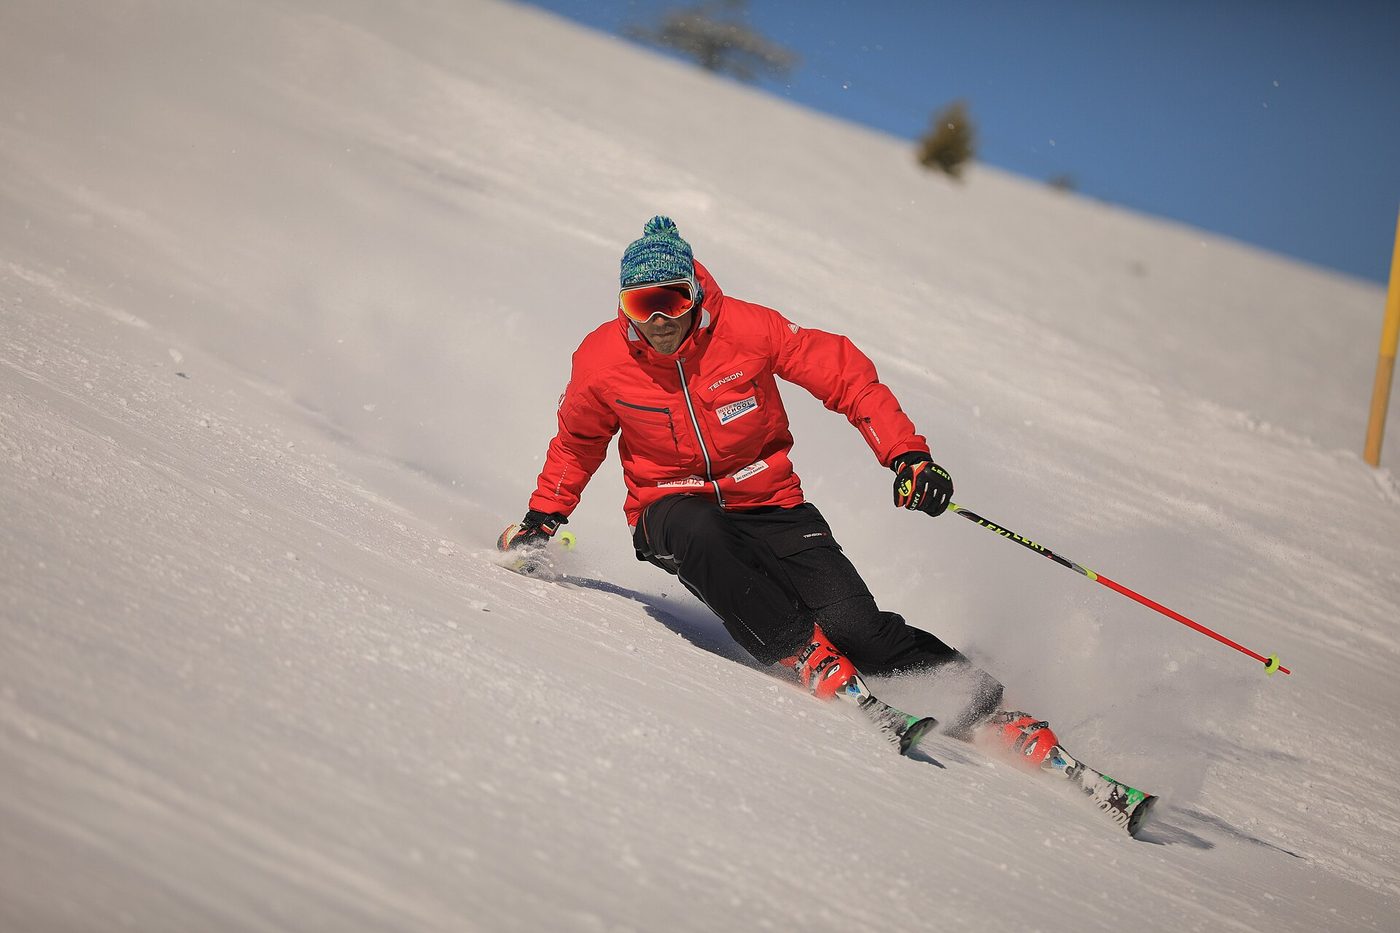
Your chest and shoulders should face roughly down the fall line — the direct line down the slope — while your legs turn underneath them. The better a skier gets, the less their upper body moves. Planting your pole at the start of each turn, with a flick of the wrist rather than a swing of the arm, helps anchor your torso.
4. Flex and extend through the turn
Long legs at the top of the turn, shorter legs through the bottom. That movement is what lets you absorb terrain, release the edges, and link turns without jumping them around. It is the key to moguls and powder, and it only develops on terrain that asks for it.
5. Look two turns ahead
Pick your line before you ski it, and keep your eyes on where you are going next rather than where you are now. On steeper or bumpier terrain this is not an optional refinement — it is the thing that makes the terrain skiable.
Should intermediate skiers take lessons?
Yes — intermediates arguably get more from a lesson than beginners do. A beginner will improve with or without instruction; an intermediate usually will not, because the habits holding them back are invisible from the inside. One well-targeted lesson can fix what several seasons of unaided skiing have reinforced.
What kind of lesson:
| Lesson type | Typical cost, destination resort | Best for |
|---|---|---|
| Group, intermediate | $150–250 half to full day | Social skiers, specific skills clinics, budget |
| Private, half day | $350–600 | Fixing one stubborn habit, fast progress |
| Private, full day | $600–900+ | Mixed-ability families, big progress on a short trip |
| Multi-day adult camp | Varies widely | A step change in one week |
Ranges as of 10 September 2026 for the 2026/27 season. Prices vary sharply by resort and by date — holiday weeks are the most expensive — and most small hills charge a fraction of these rates.
Three ways to make a lesson worth the money:
- Book early in the trip, on day one or two, so you have the rest of the week to practise what you learn.
- Tell the instructor exactly what you want — “I want to ski moguls without stopping every three bumps” beats “I want to get better”.
- Ask for a drill to take away. A good instructor will give you one or two exercises to practise on your own for the rest of the week.
The best value in intermediate instruction is a skills clinic — a short, focused group session on one topic such as bumps, carving or powder. Many resorts run them in the afternoons for much less than a full lesson. Adult ski camps covers the multi-day version, which is where a lot of committed skiers make their biggest single jump.
How do you learn to ski moguls, powder, trees and steeps?
One at a time, in easy versions first, at the speed you can control. Most intermediates try hard terrain at their groomer speed and conclude it is beyond them. It usually is not — it is just beyond them at that speed.
Moguls
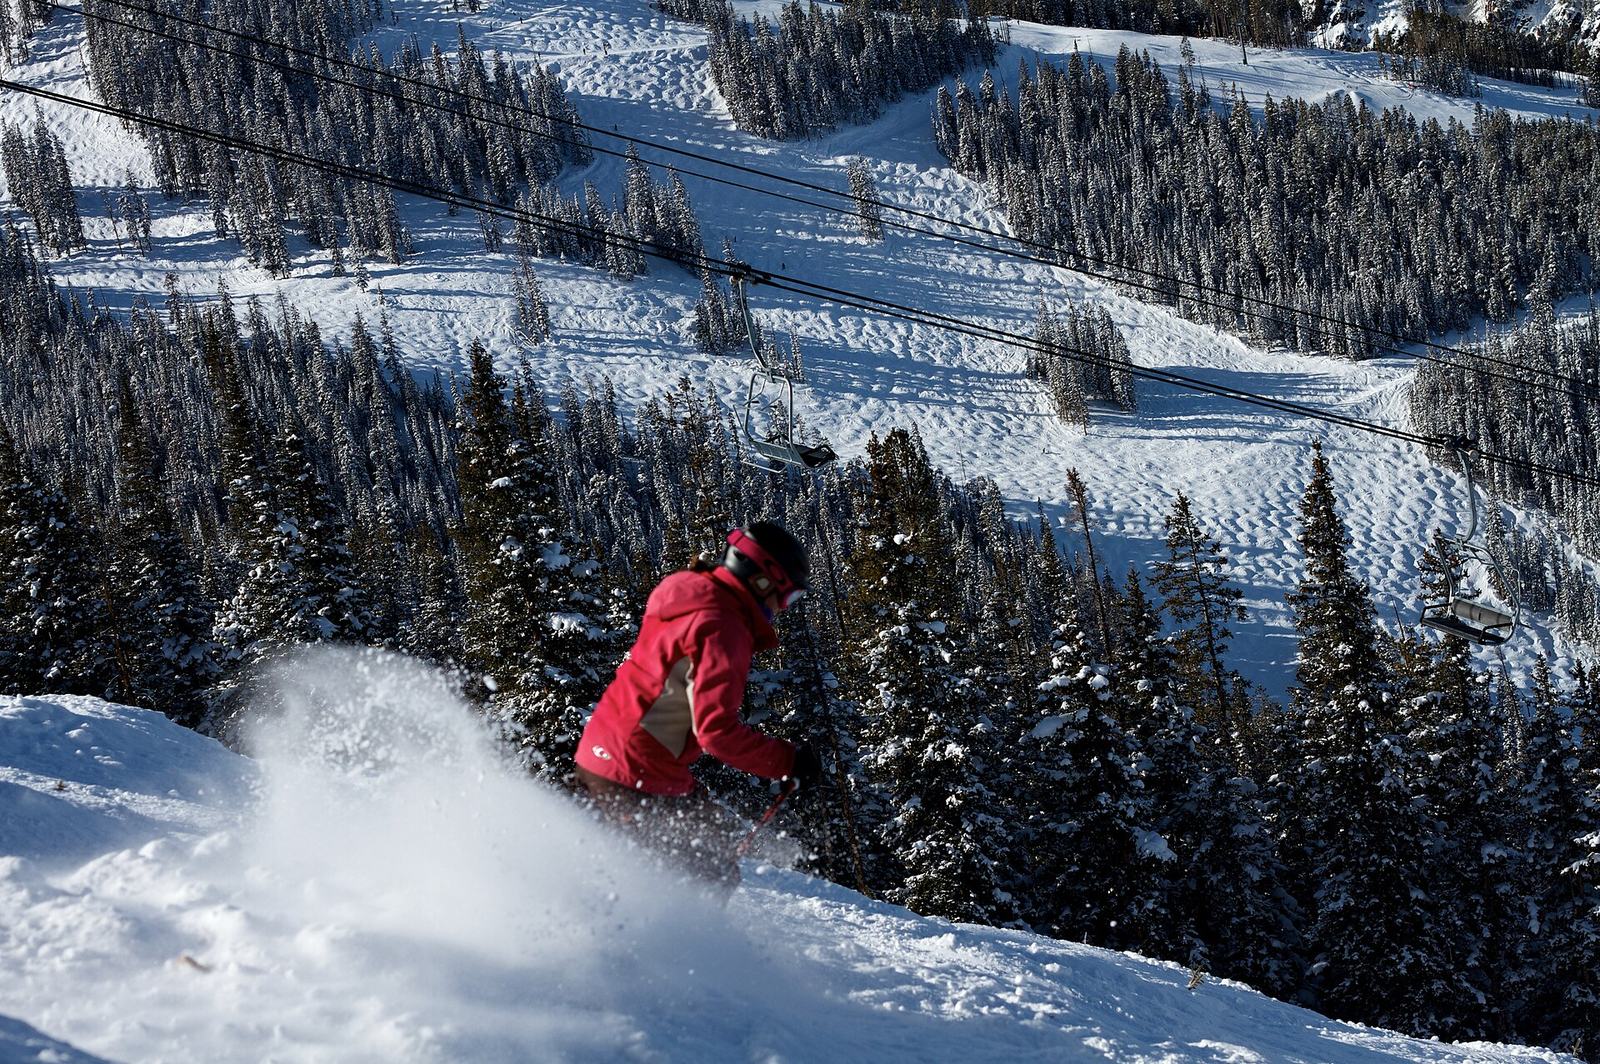
Moguls punish every habit listed above. Sitting back sends you into the next bump; rotating the upper body destroys rhythm. Start on small, soft bumps at the edge of a run, turn on the tops of the moguls where the skis pivot freely, and use flexion to absorb each bump rather than being thrown by it. Slow is fine. Stopping every few turns to reset is fine. How to ski moguls has the drills.
Powder
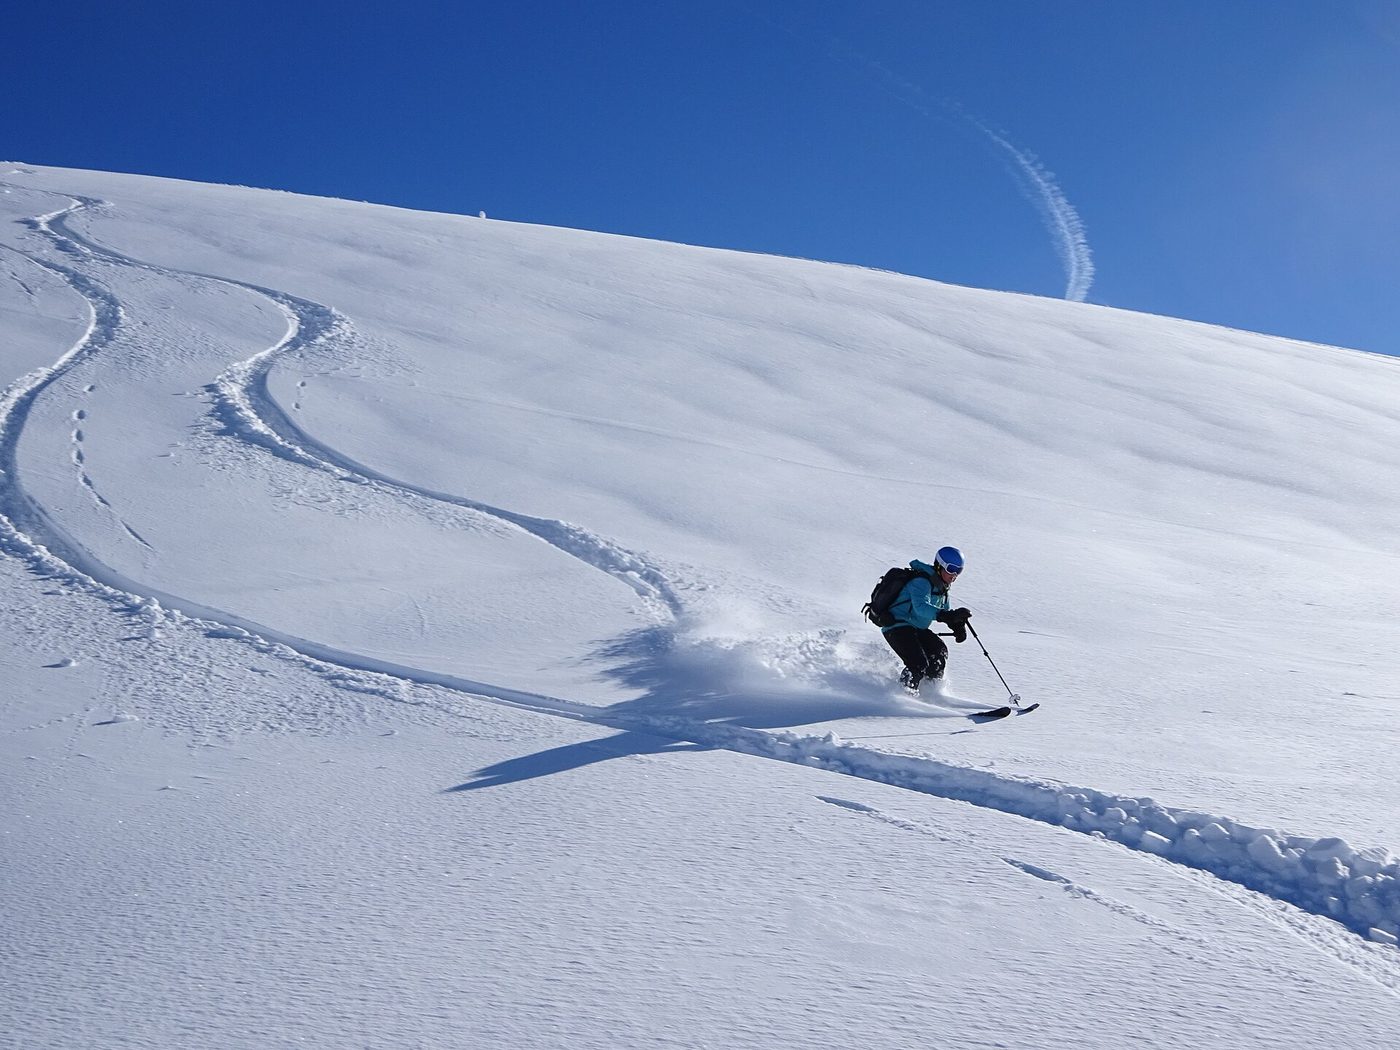
Deep snow asks for a more even weight distribution between both skis than groomed snow does, and a bouncing, rhythmic flex-extend motion. Modern wide skis make it far easier than it used to be — renting a wider ski on a powder day is not cheating, it is sensible. Start on a gentle slope with a few inches of fresh snow rather than a steep face with two feet of it. How to ski powder takes you through it.
Trees
Look at the gaps, not the trees — your skis follow your eyes. Ski with a partner who stays in sight, keep your speed down, and be aware of tree wells: the deep, loose snow that collects around the base of evergreens, which can trap a skier who falls in head first. Tree wells are a genuine hazard on big snow days, and they kill people most seasons. How to ski trees covers the technique and the safety side.
Steep black runs
Commit to the fall line. The instinct on a steep slope is to lean back and away from it, which removes your control. Short, quick turns with an early pole plant, eyes on the next turn, and a willingness to side-slip through a section that scares you. Choose black runs that are groomed, on a good-snow day, before you try ungroomed ones. How to ski black diamonds goes into tactics.
The honest principle: progression on hard terrain comes from repetition at a controllable speed, not from surviving hard terrain at an uncontrollable one. An hour of slow moguls is worth more than a day of fast groomers.
How do you get fit for ski season?
Start six to eight weeks before your first ski day, and train three things: leg strength, endurance, and balance. Skiing is not especially demanding aerobically at resort level, but it asks your legs to hold a flexed position under load for minutes at a time — which is exactly why thighs burn and technique collapses by early afternoon.
A simple structure that works for most recreational skiers:
| Focus | Why it matters | Example exercises |
|---|---|---|
| Leg strength | Holding a flexed stance through turns | Squats, lunges, wall sits, step-ups |
| Eccentric control | Absorbing terrain, protecting knees | Slow lowering squats, Bulgarian split squats |
| Lateral power | Edge-to-edge movement | Lateral lunges, skater jumps |
| Core stability | Quiet upper body, balance | Planks, side planks, dead bugs |
| Endurance | Skiing well after lunch | Cycling, hiking, stair climbing, intervals |
| Balance | Recovering from terrain changes | Single-leg stands, balance board work |
Two to three sessions a week for six weeks makes a noticeable difference on the first day of the season, and a large difference on the fourth. Our ski workout plan has a full programme, and ski endurance training focuses on the late-afternoon problem specifically.
On the mountain, the fitness rule is simple: stop before your legs do. Technique collapses when you are tired, and tired skiing is when injuries happen. The last run of the day has earned its reputation.
What are the most common ski injuries, and how do you avoid them?
Knee injuries — particularly the anterior cruciate ligament (ACL) and the medial collateral ligament (MCL) — are the injuries most associated with skiing, typically from a twisting fall where the ski acts as a lever on the leg. Head injuries are less common but far more serious. Most can be reduced by the same small set of habits.
What reduces injury risk:
- A properly adjusted binding. Binding release values — often called DIN settings — are set from your weight, height, age, boot sole length and skier type, on a calibrated machine at a ski shop. Never adjust them yourself at home. A binding set too tight does not release when it should, which is how knees get hurt.
- A helmet. Look for ASTM F2040 or CE EN 1077 certification; ASTM’s test is the more demanding of the two.
- Fitness, particularly eccentric leg strength, which helps the muscles protect the knee.
- Stopping when tired. More injuries happen late in the day.
- Skiing within your ability and the conditions. Flat light, ice and crowded runs all raise the risk.
- Falling well. If you are going down, go down — trying to recover a fall that is already happening is how knees twist. Keep your arms forward and your hands up.
Common ski injuries covers each type properly, and our ski gear guide explains helmet and binding standards.
Does altitude affect your skiing?
Yes, more than most people expect. According to the CDC, the risk of altitude illness begins above about 8,000 feet, and acute mountain sickness affects roughly a quarter of visitors who sleep above 8,000 feet in Colorado. The symptoms — headache above all, plus fatigue, nausea and poor sleep — typically appear 2 to 12 hours after arrival.
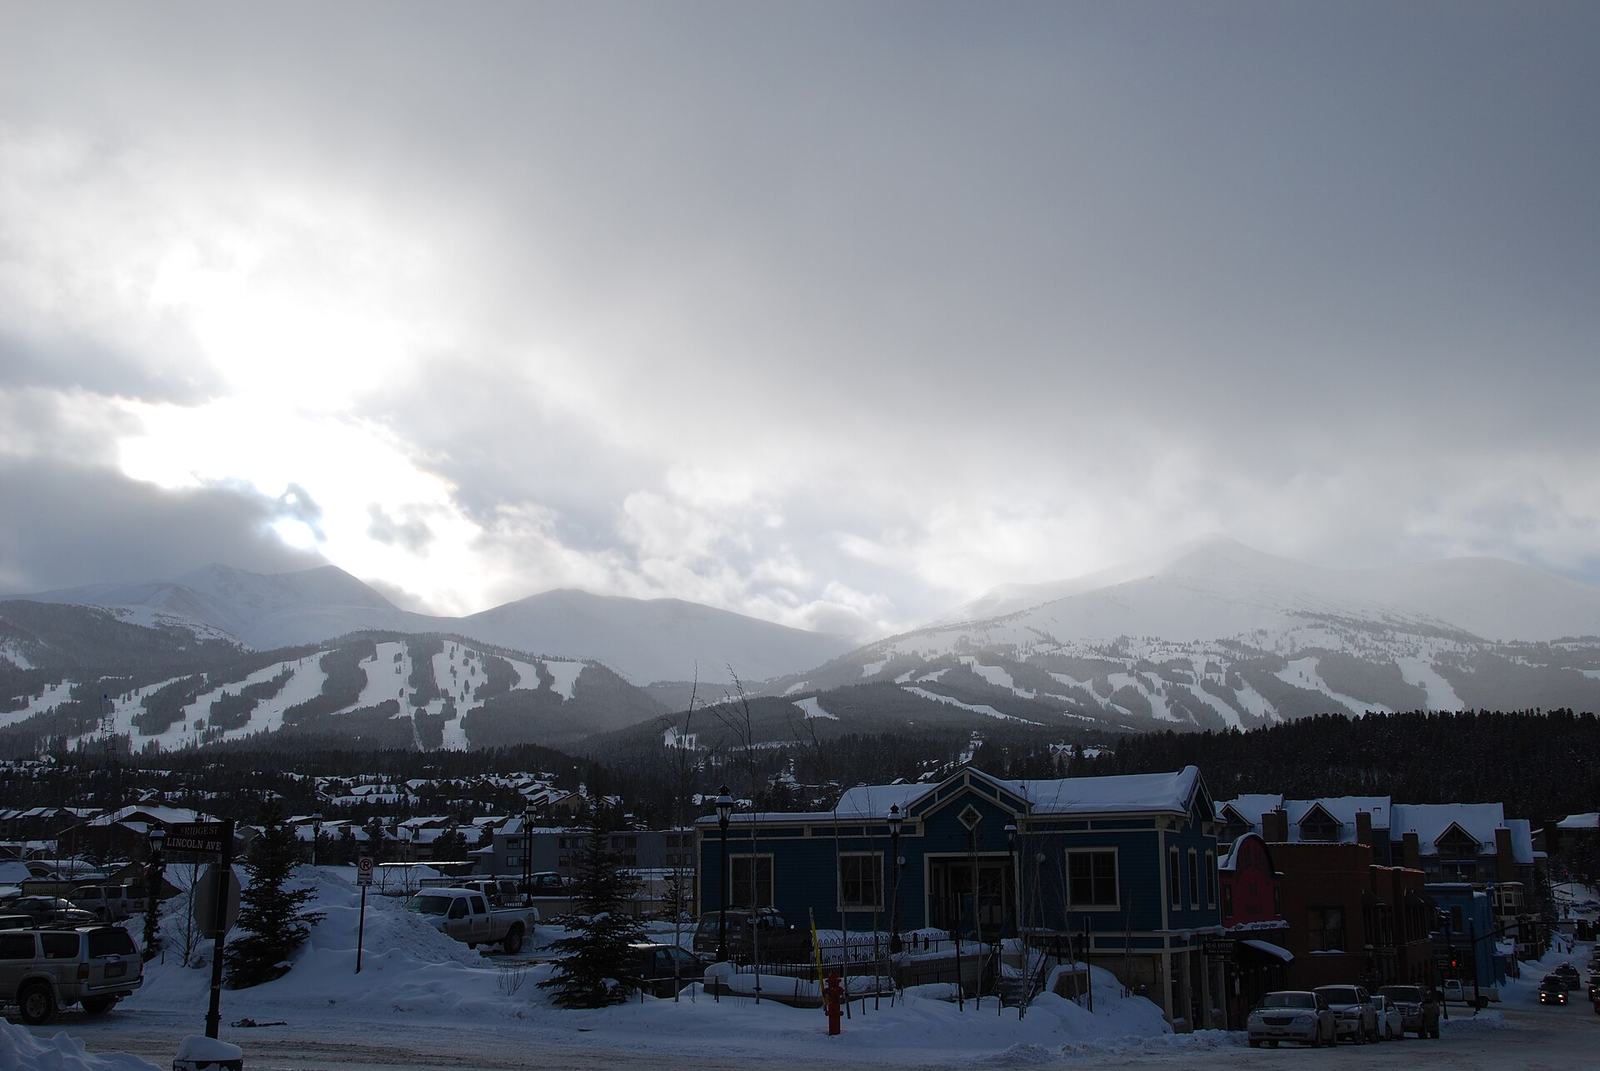
That matters for skiing because a lot of American ski towns sleep high. Breckenridge, Keystone and Copper Mountain all have bases above 9,000 feet, and Breckenridge’s Imperial Express reaches 12,998 feet, the highest chairlift in North America. Flying in from sea level and sleeping at 9,500 feet the same night is exactly the pattern the CDC’s guidance warns against.
What actually helps:
- Stage the ascent. The CDC notes that two to three nights at 8,000 to 9,000 feet before going higher is markedly protective. Even one night in Denver or a lower valley town before driving up makes a real difference.
- Avoid sleeping above 9,000 feet on your first night if you can — a guideline from the Wilderness Medical Society.
- Take it easy on day one. Ski a half day. Your legs and lungs will both thank you.
- Drink water and go light on alcohol for the first night or two. Alcohol hits harder at altitude and makes sleep worse.
- Treat a worsening headache with vomiting, confusion or breathlessness at rest as a medical problem, not a hangover. Descend and get help.
Skiing at altitude goes into more detail, and our Colorado ski resorts guide lists base elevations resort by resort.
How do you get over a fear of skiing?
By making the thing you are afraid of smaller, not by forcing yourself through it at full size. Fear on skis is almost always rational — a steep slope, an icy patch, a past fall — and the answer is a smaller version of the challenge at a speed you control, repeated until it is boring.
Practical approaches that work:
- Name the specific fear. “Steep runs” is too vague to work on. “The first turn at the top of a steep run” is something you can practise.
- Go back a level. Spend an hour on terrain that feels easy, practising the exact movement you need on the harder terrain.
- Ski with someone slower, not faster. Chasing a stronger friend down a run beyond your ability is how confidence gets destroyed.
- Side-slip is a legitimate technique. Sliding sideways down a section that scares you is what instructors do, too. There is no shame in it.
- Book a lesson and say you are nervous. Instructors deal with this constantly, and a good one will build a day around it.
The honest point: fear is useful. It is what keeps you off terrain you are not ready for. The goal is not to get rid of it but to make it proportionate. Fear of skiing goes much further, including returning to skiing after an injury.
Can you practise skiing without snow?
Somewhat, and more than you might think. Indoor slopes and artificial surfaces are nothing like a real mountain for terrain, but they are genuinely useful for technique drills, lessons and keeping your legs in ski shape between trips.
- Indoor snow slopes exist in a handful of US locations and many more worldwide. They are short, busy and flat by mountain standards, but they are real snow and excellent for lesson time.
- Revolving carpet ski decks and dry slopes let you drill stance and edging in a controlled environment.
- Ski-specific fitness training at home does more for your first ski day than almost anything else.
Indoor ski slopes USA lists the options and what each is actually good for.
What drills can you practise on your own?
The drills that help most isolate one movement on easy terrain: skiing on one ski, stepping through the turn, and linking short turns to a steady pole-plant rhythm. Ten deliberate minutes of any of them on a green run does more for your technique than a dozen fast laps of your favourite blue.
A short list that covers the common intermediate faults:
- Javelin turns. Lift your inside ski and point its tip across the front of your outside ski through the whole turn. It forces your weight onto the outside ski, which is where it belongs.
- One-ski turns. Lift the inside ski an inch off the snow and ride the whole turn on the outside ski alone. If you cannot, you are relying on the inside ski for balance.
- Thousand steps. Make small stepping movements with both feet all the way through each turn. It breaks a static stance and teaches active feet.
- Garlands. Traverse across the slope, dip toward the fall line, and come back across without completing the turn. It isolates edge release and re-engagement, the heart of every good turn.
- Pole-plant rhythm. Short, linked turns on a gentle groomer, planting the pole with a flick of the wrist at the start of each one. It quiets the upper body and builds the timing moguls demand.
- The shuffle. Slide your feet back and forth while you ski. If you cannot, your weight is on your heels.
Two honest notes. Drills are dull, and that is why most skiers skip them — which is also why most skiers plateau. And do them early in the day, while your legs are fresh; a drill done badly at 3pm teaches the wrong movement.
Do ski boots make a difference to how well you ski?
More than skis do. Boots are the only connection between your body and the ski, and a boot that is too big or badly fitted loses every small movement of your foot in slack before it reaches the edge. For an intermediate trying to progress, a properly fitted boot matters more than any ski upgrade.
What that means in practice:
- Rental boots are fitted for comfort, not performance. They are usually a size loose, which is fine for a first day and holds progression back after that.
- Go to a proper bootfitter. A good fitting starts with a shell check — your foot out of the liner, inside the bare shell — and takes the best part of an hour. Be wary of any shop that sizes you from your street shoe.
- Flex should match you. A boot that is too stiff for your weight and ability is as unhelpful as one that is too soft. Intermediates are often sold boots that are too stiff.
- Snug is not the same as painful. A well-fitted boot feels firm everywhere and hurts nowhere. A specific pressure point is something a fitter can fix by stretching or grinding the shell.
- Footbeds help a lot of skiers. A supportive insole stops the foot collapsing inside the boot and improves edge control.
The honest verdict: if you ski more than five days a season and still rent boots, buying your own is the best money you will spend on skiing. Our ski gear guide covers the rest of the equipment, and rent or buy ski gear runs the numbers.
A season plan for getting genuinely better
Pull it all together and the path from the intermediate plateau to advanced skiing looks something like this:
- Before the season: six to eight weeks of leg, core and balance training. Get your bindings checked and your skis tuned.
- Day one or two of your first trip: book an intermediate lesson or clinic. Tell the instructor your specific goal.
- The rest of that trip: practise the one or two drills you were given, on easy terrain, deliberately.
- Film yourself on a phone, once, on a run you know. Compare it with what the instructor told you.
- Introduce one new terrain type per trip, in its easiest version: small soft moguls, a few inches of powder, well-spaced trees, a groomed black.
- Ski slower on harder terrain. Speed is not skill.
- Stop before your legs give out.
- Take another lesson next season, one level up.
Two seasons of that and most intermediate skiers will be comfortably skiing terrain that terrified them before. The pass you ski on matters too — more days means more practice — and our ski pass guide works through which pass gives you the most days for your money.
Frequently asked questions
How can I improve my skiing quickly?
Take a lesson early in your trip and tell the instructor exactly what you want to fix. Most intermediate skiers are held back by one or two habits — sitting back, skidding turns, rotating the upper body — that they cannot see themselves. A single focused lesson, followed by a few days practising the drills you are given, will do more than a season of unaided mileage.
Why am I stuck as an intermediate skier?
Because the habits that got you onto blue runs — leaning back, skidding the tails, turning with your shoulders — are the same ones that stop you skiing harder terrain, and repeating the same runs reinforces them. The fix is feedback: a lesson, or a video of yourself, plus deliberately practising on terrain slightly harder than you are comfortable on.
What are the nine ski levels?
The PSIA-AASI American Teaching System grades skiers on nine levels in three zones. Levels 1 to 3 are beginner, covering stopping, wedge turns and green runs. Levels 4 to 6 are intermediate, from parallel turns on blues to easy blacks. Levels 7 to 9 are advanced and expert, skiing most terrain in most conditions with control.
How do I stop leaning back when I ski?
Keep your shins pressed against the front of your boots through the whole turn, and hold your hands forward where you can see them. Leaning back usually comes from fear or fatigue, so practise on easier terrain until the forward stance feels natural, and stop before your legs get tired, which is when most skiers drift back again.
How long does it take to become an advanced skier?
It varies enormously, but most people who ski regularly, take the occasional lesson and deliberately practise new terrain reach the advanced zone within three to five seasons. Many skiers never do — not for lack of ability, but because they keep skiing the same runs without instruction. Deliberate practice matters far more than total days.
What exercises are best for skiing?
Squats, lunges and wall sits for leg strength; slow lowering squats and split squats for eccentric control, which protects the knees; lateral lunges and skater jumps for edge-to-edge power; planks for core stability; and cycling or hiking for endurance. Two or three sessions a week for six to eight weeks before the season makes a real difference.
Does altitude make skiing harder?
Yes. The CDC notes altitude illness risk starts above about 8,000 feet and affects roughly a quarter of visitors sleeping above that height in Colorado. Symptoms include headache, fatigue and poor sleep. Spending a night lower before driving up, skiing a half day first, drinking water and limiting alcohol all help.
Are ski lessons worth it for intermediate skiers?
Usually more than for beginners. Beginners improve with or without instruction; intermediates tend to plateau without it, because the habits holding them back are invisible from the inside. A half-day private lesson or an afternoon skills clinic focused on one topic — moguls, carving or powder — is often the best money spent on a whole trip.
The bottom line
Getting better at skiing is not about more days. It is about better days: a lesson when you are stuck, deliberate practice on slightly harder terrain at a speed you control, legs strong enough to hold good technique after lunch, and the honesty to stop when you are tired.
Most intermediate plateaus come down to one or two habits you cannot see yourself. Get someone to show you what they are, fix them on easy terrain, then take the fix somewhere harder. Do that for two seasons and you will be skiing things you currently avoid.
The guides beneath this one each take one piece. For technique: ski levels explained, how to carve on skis, how to ski moguls, how to ski powder, how to ski trees and how to ski black diamonds. For your body: ski workout plan, ski endurance training, common ski injuries and skiing at altitude. For your head: fear of skiing. And for making a big jump: adult ski camps and indoor ski slopes USA. If you are still near the start, skiing for beginners comes first — and if you are thinking of trying a board, snowboarding for beginners is the place to start.
Lesson prices and pass terms checked 10 September 2026 for the 2026/27 season. Altitude guidance summarised from the CDC; it is general information, not medical advice — speak to a doctor if you have heart or lung conditions before travelling to altitude.
Once groomed blues and blacks stop feeling like a challenge, a lot of intermediate skiers look at ungroomed, untracked snow as the next step — and increasingly that means leaving the resort altogether. Backcountry skiing rewards exactly the fundamentals this page is about, since variable, ungroomed snow punishes a weak stance and a skidded turn far more than a groomed run does. It also adds an entirely separate skill set around avalanche safety that has nothing to do with ski technique. Our guide to backcountry skiing for beginners covers where that education has to start.
An unlimited pass changes practice habits more than most skiers expect — once a ski day costs nothing marginal, it becomes realistic to drive up for two focused hours after work rather than saving every visit for a full day, and that kind of frequent, shorter repetition is exactly what breaks an intermediate plateau. Our Epic Pass explained guide covers what the pass actually includes, tier by tier, for skiers weighing whether that kind of access is worth the upfront cost.
Sources
- PSIA-AASI — Alpine Certification Standards and the American Teaching System, checked 10 September 2026
- CDC Yellow Book — high-altitude travel and altitude illness, checked 10 September 2026
- CDC — travel to high altitudes, checked 10 September 2026
- ASTM F2040 — standard specification for helmets used for recreational snow sports
- Winter Park Resort — mountain statistics
Lesson price ranges are compiled from resorts’ own published rates and vary by date, resort and lesson length.
Image credits
| Image | Photographer | Licence | Source |
|---|---|---|---|
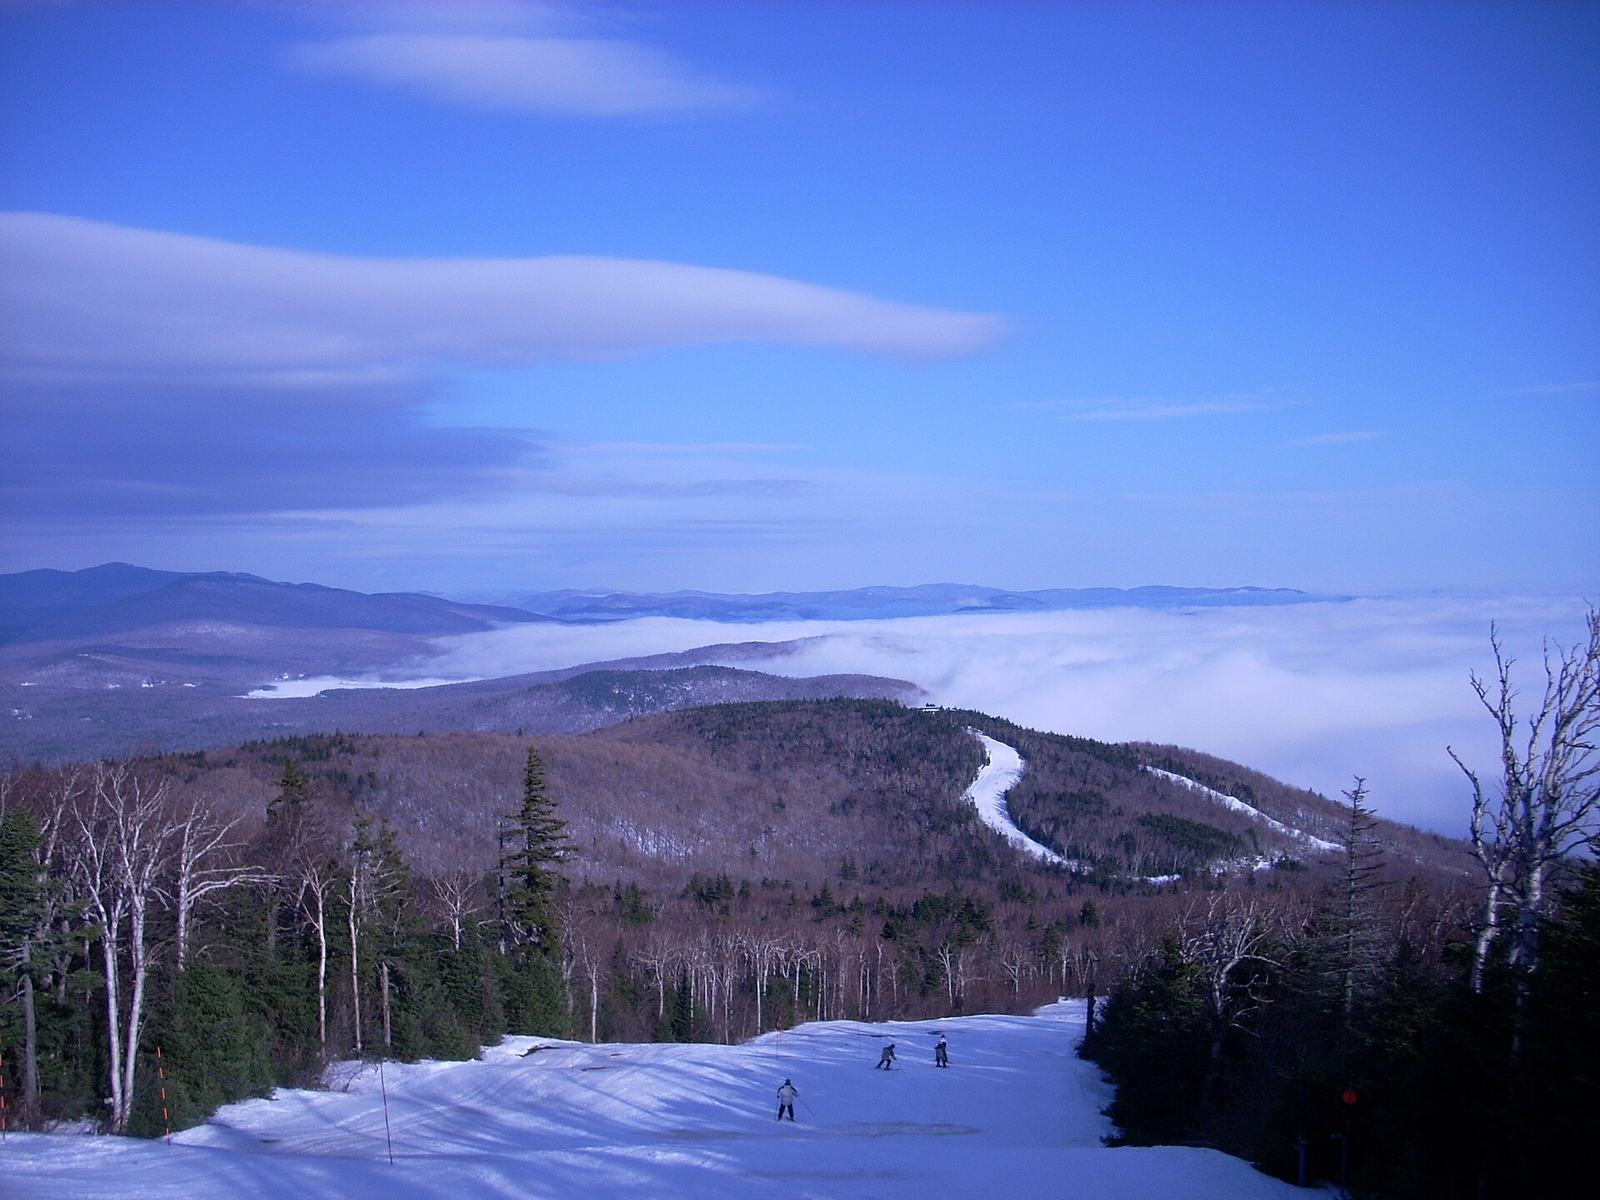
| Skiers descending from Okemo’s peak above a cloud inversion (featured image) | Henry P. Gray | CC BY-SA 3.0 | Commons |
| Ski instructor carving, Bansko | Bansko.ski.expert | CC0 | Commons |
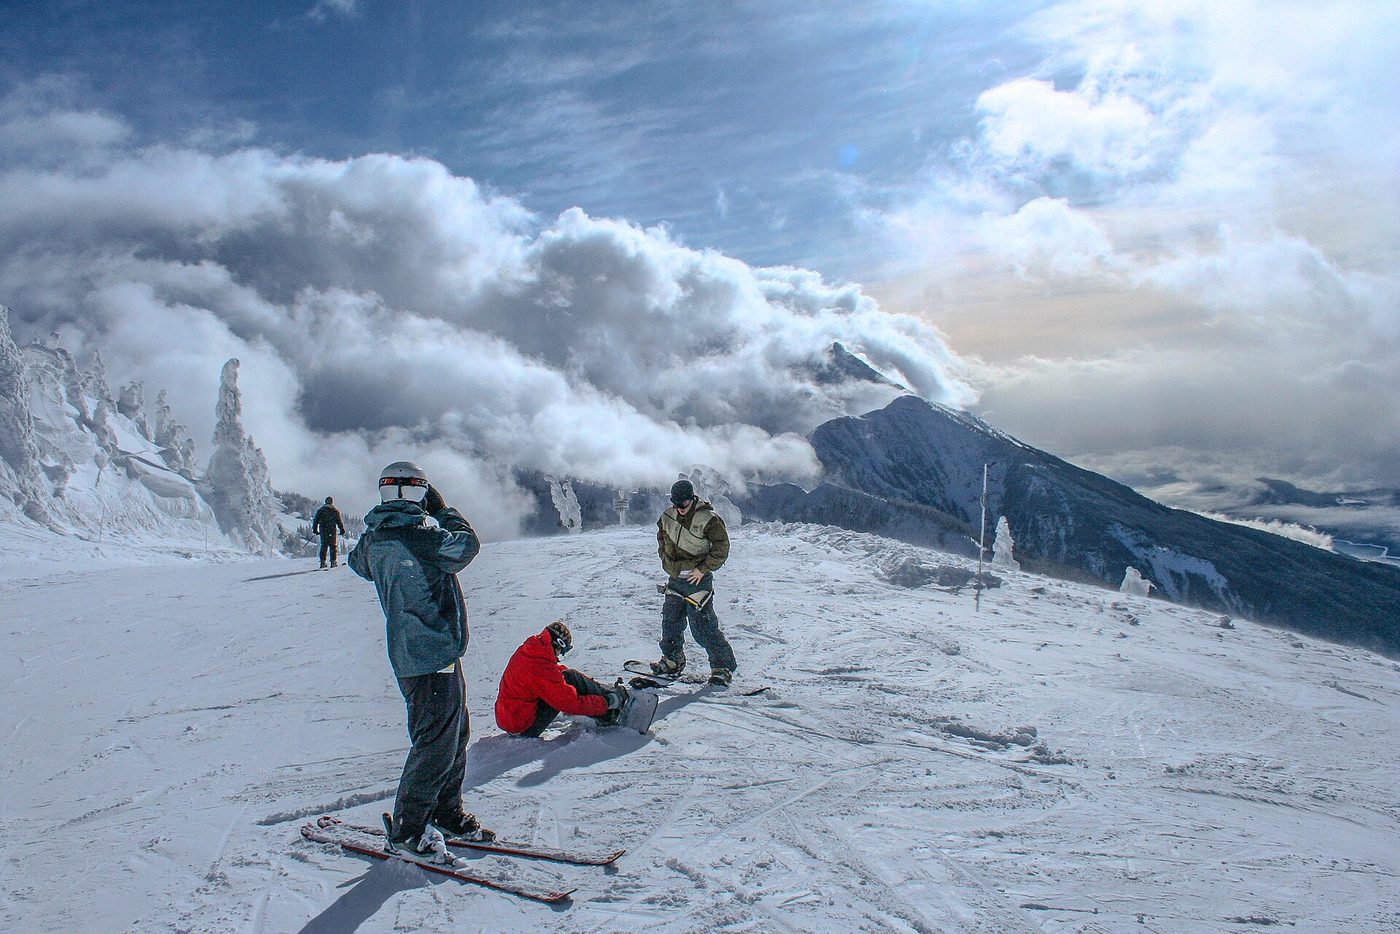
| Top of a run, Revelstoke | Murray Foubister | CC BY-SA 2.0 | Commons |
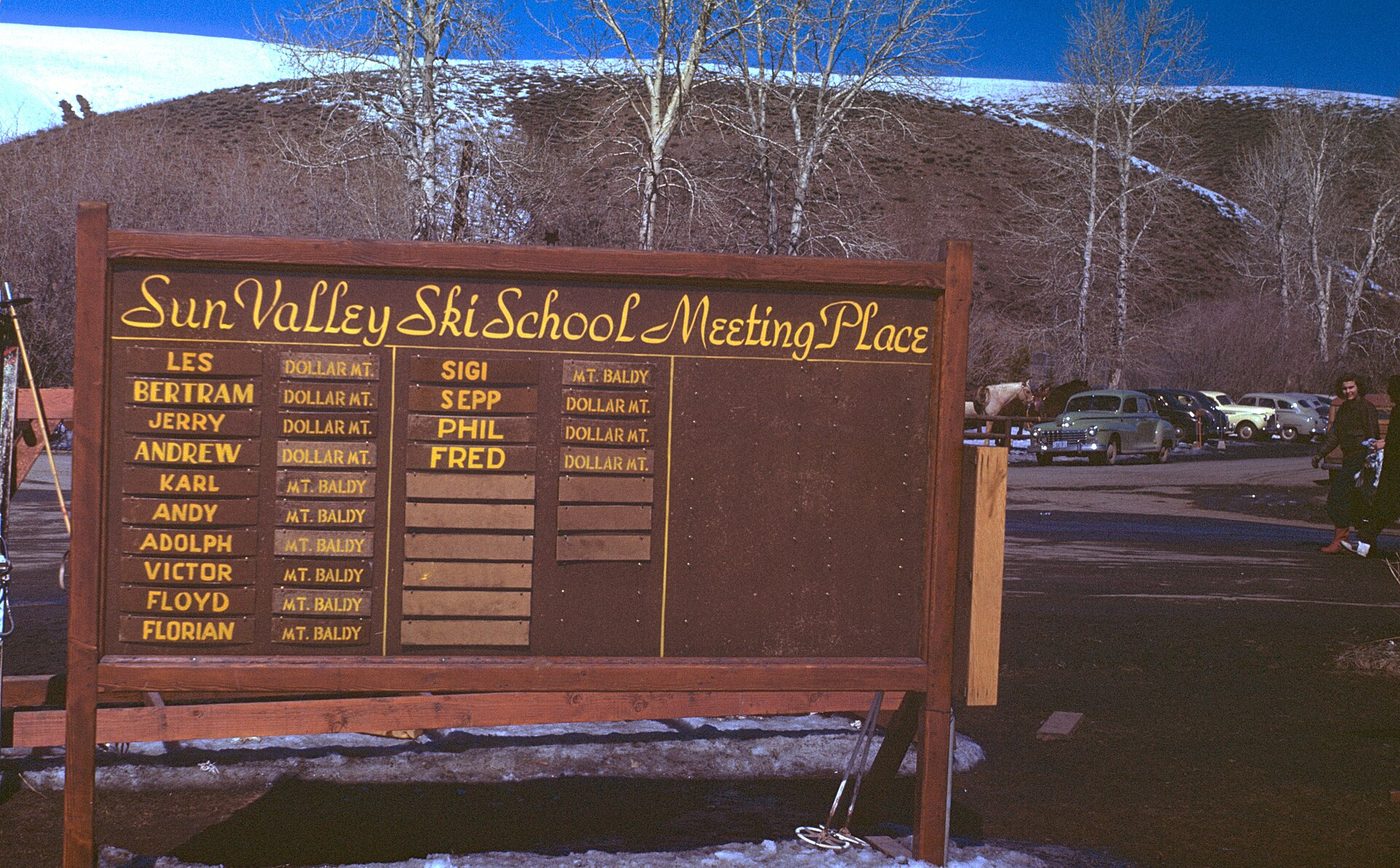
| Sun Valley ski school board | Sba2 at English Wikipedia | CC BY 2.5 | Commons |
| Moguls at Beaver Creek | Zach Dischner | CC BY 2.0 | Commons.jpg) |
| Off-piste powder at Chamonix | Webwizzard | CC BY-SA 4.0 | Commons |
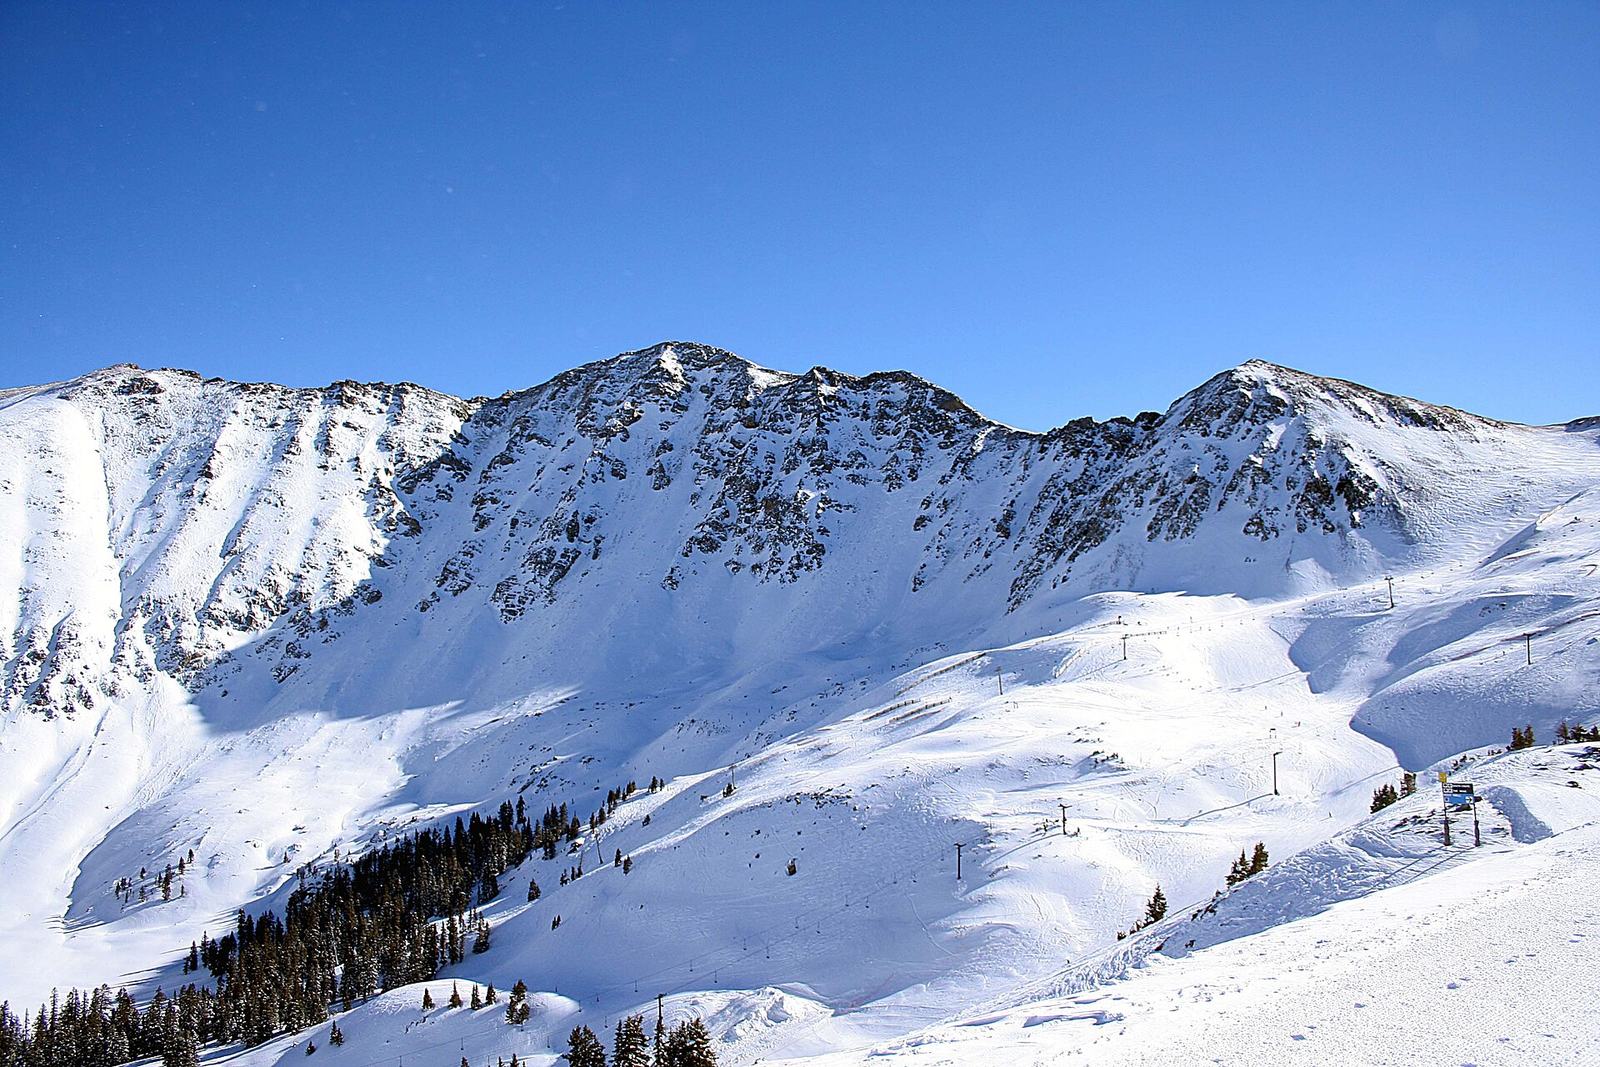
| East Wall, Arapahoe Basin | Keflavich | Public domain | Commons |
| Breckenridge, Colorado | Jasen Miller | CC BY 2.0 | Commons |