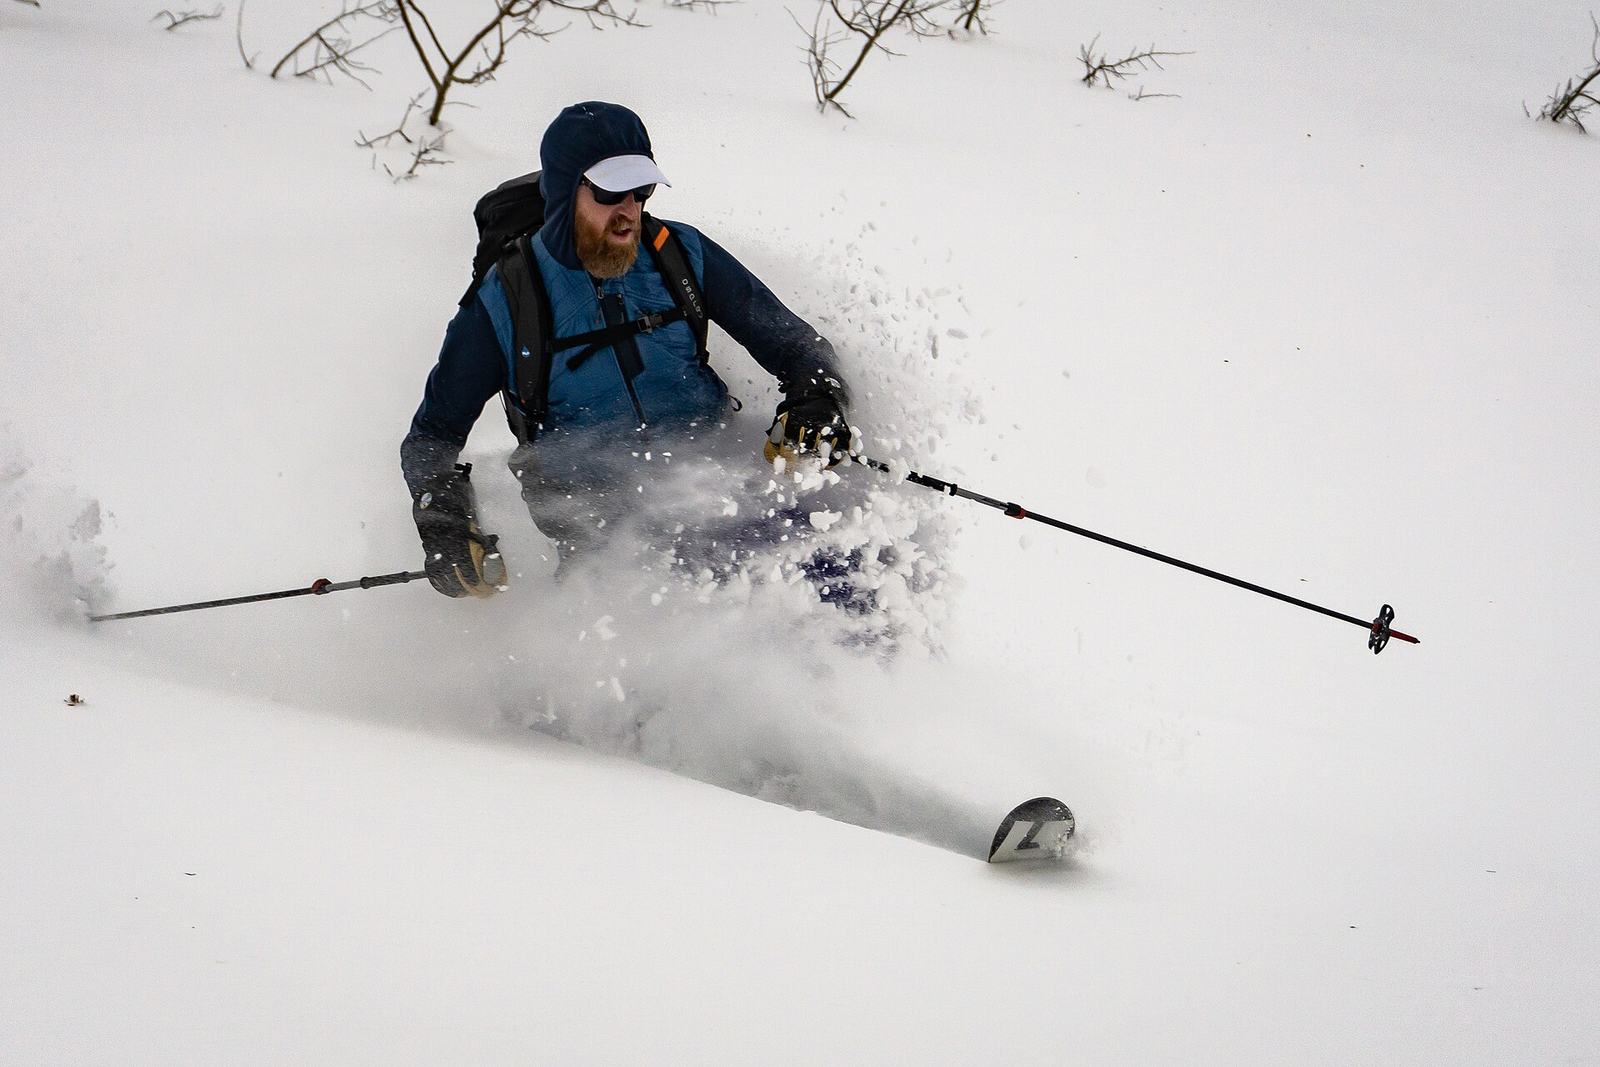
Backcountry skiing for beginners starts with a course, not a binding. The right order is: take an introductory avalanche class, ski with someone more experienced than you for at least a season, then buy gear as you understand what you actually need it for. A full touring setup runs $2,000 to $4,500 and an AIARE 1 course runs $600 to $700 — the course matters more, because gear does not make bad terrain choices safe.
That ordering feels backwards to a lot of people, because everywhere else in skiing the sequence is gear first, skill later. Buy boots, buy skis, take a lesson if you feel like it. Backcountry skiing punishes that habit. The terrain that makes touring worthwhile — untracked snow, silence, a summit with nobody else on it — is also terrain where a wrong read of the snowpack can kill you and the people skiing with you. Nothing in this guide is meant to scare you out of it. Thousands of people tour safely every winter. But the on-ramp is different from resort skiing, and pretending otherwise is how people get hurt in their first season.
This guide covers what backcountry skiing actually is, why education comes before equipment, what a real gear budget looks like, how avalanche forecasting works, and what a sane first season looks like for someone starting from zero.
What backcountry skiing actually is
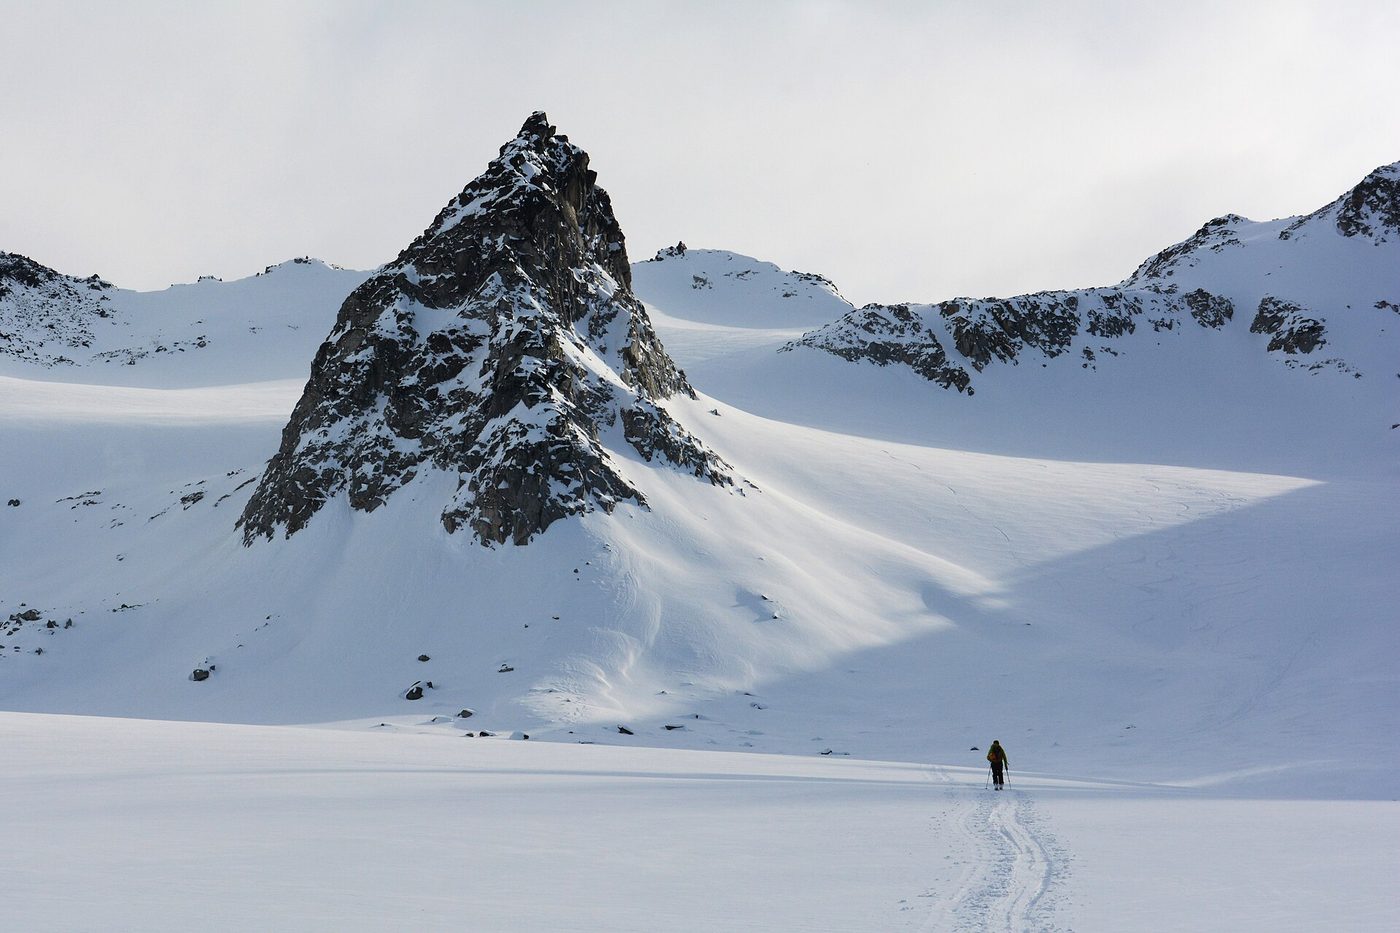
Backcountry skiing for beginners — also called ski touring or, with the French term, randonnée — means climbing a slope under your own power and skiing back down, on terrain with no ski patrol, no avalanche control, no marked boundaries and no lift. You attach climbing skins to the base of your skis for traction on the way up, release your heel with a touring binding so you can walk naturally, then lock the heel down and peel the skins off for the descent.
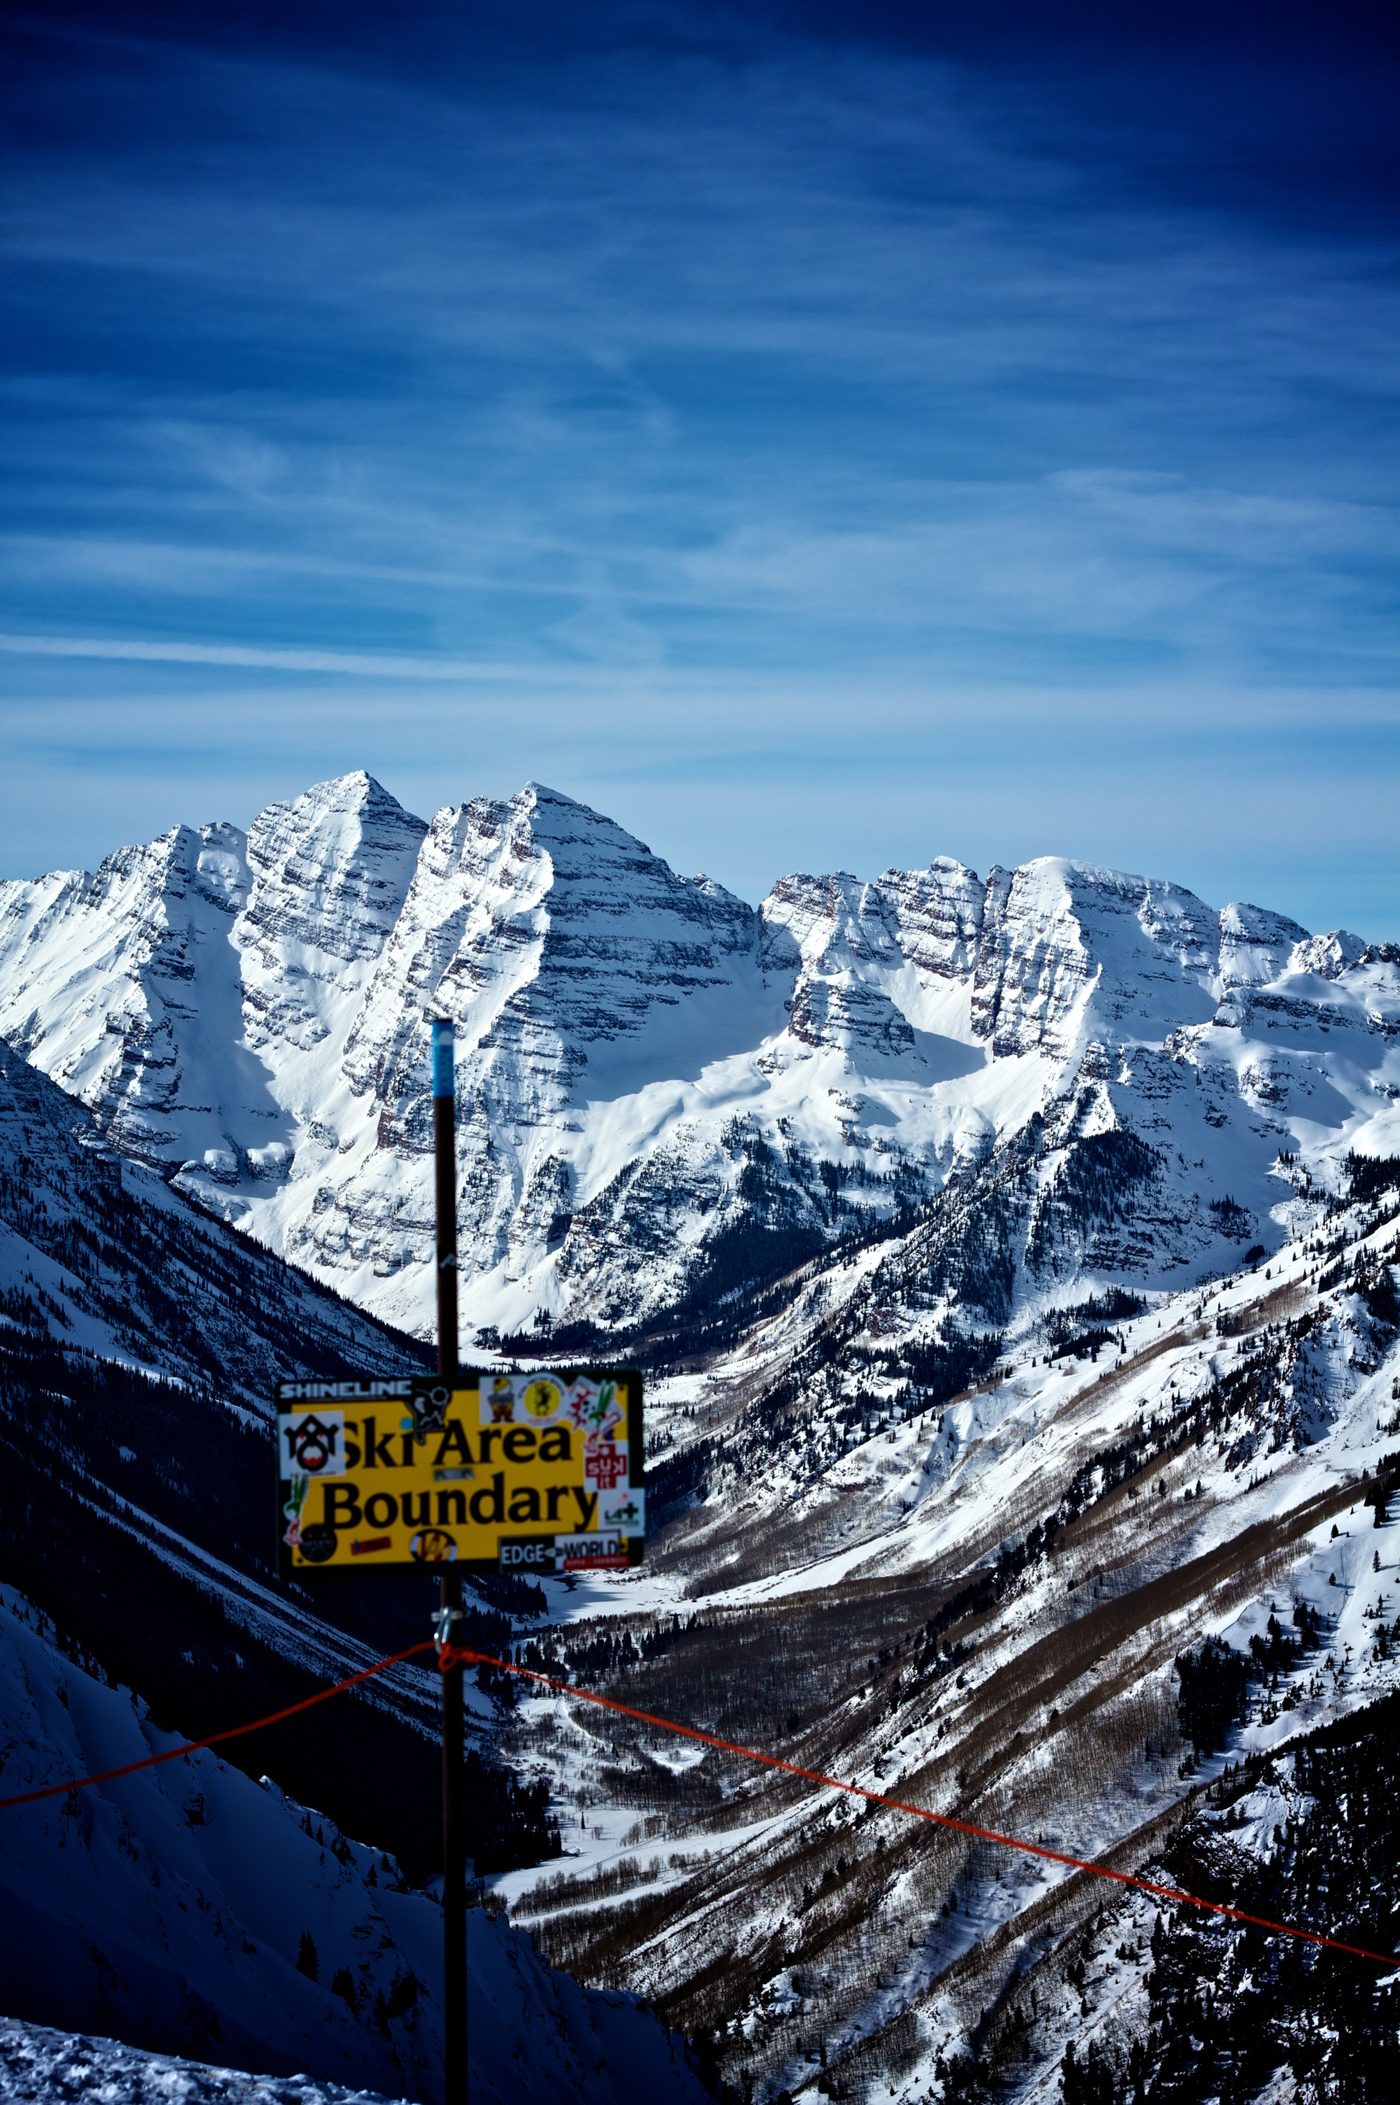
It is different from sidecountry, which means accessing backcountry terrain through a resort’s gate — hiking or skiing out from a lift-served boundary into unpatrolled, uncontrolled terrain that just happens to be reachable in ten minutes from a chairlift. Sidecountry is arguably more dangerous than deep backcountry for beginners, precisely because it feels close to the resort and isn’t. We cover that distinction in full in sidecountry and slackcountry: the real risks.
It is also different from cat skiing and heli-skiing, where a machine does the climbing for you and a guide manages the terrain and avalanche decisions professionally. Those are a different kind of experience entirely, covered in our luxury and bucket-list skiing guide — good options if you want the untracked snow without building the skills yourself, at a materially higher price per day.
None of backcountry terrain is avalanche-controlled, ever, at any resort’s boundary or beyond it. That single fact is the reason everything else in this article is structured the way it is.
Why does avalanche education come before gear?
Do I need a course before I go backcountry skiing?
Yes, in practice, even though nothing legally requires it. An introductory avalanche course — AIARE 1 in the US — teaches you to recognize avalanche terrain, read a forecast, plan a route around identified hazards, and perform a companion rescue if something goes wrong anyway. Skipping it does not just raise your own risk; it puts everyone touring with you at risk too, because avalanche safety on a group trip only works if the whole group can execute a rescue.
The American Institute for Avalanche Research and Education (AIARE) runs the standard curriculum most US providers teach. AIARE 1 is a three-day, roughly 24-hour course, run either as one classroom day plus two field days, or as an online module plus two field days in a hybrid format. It runs $600 to $700 through most guide services and mountain schools, and it is taught at ski areas and backcountry zones across every mountain region in the country. The course does not make you an expert — nothing does after three days — but it teaches the framework: how to plan a tour before you leave the house, how to read the terrain in front of you, and how to run a companion rescue with a beacon, probe and shovel if a partner gets buried.
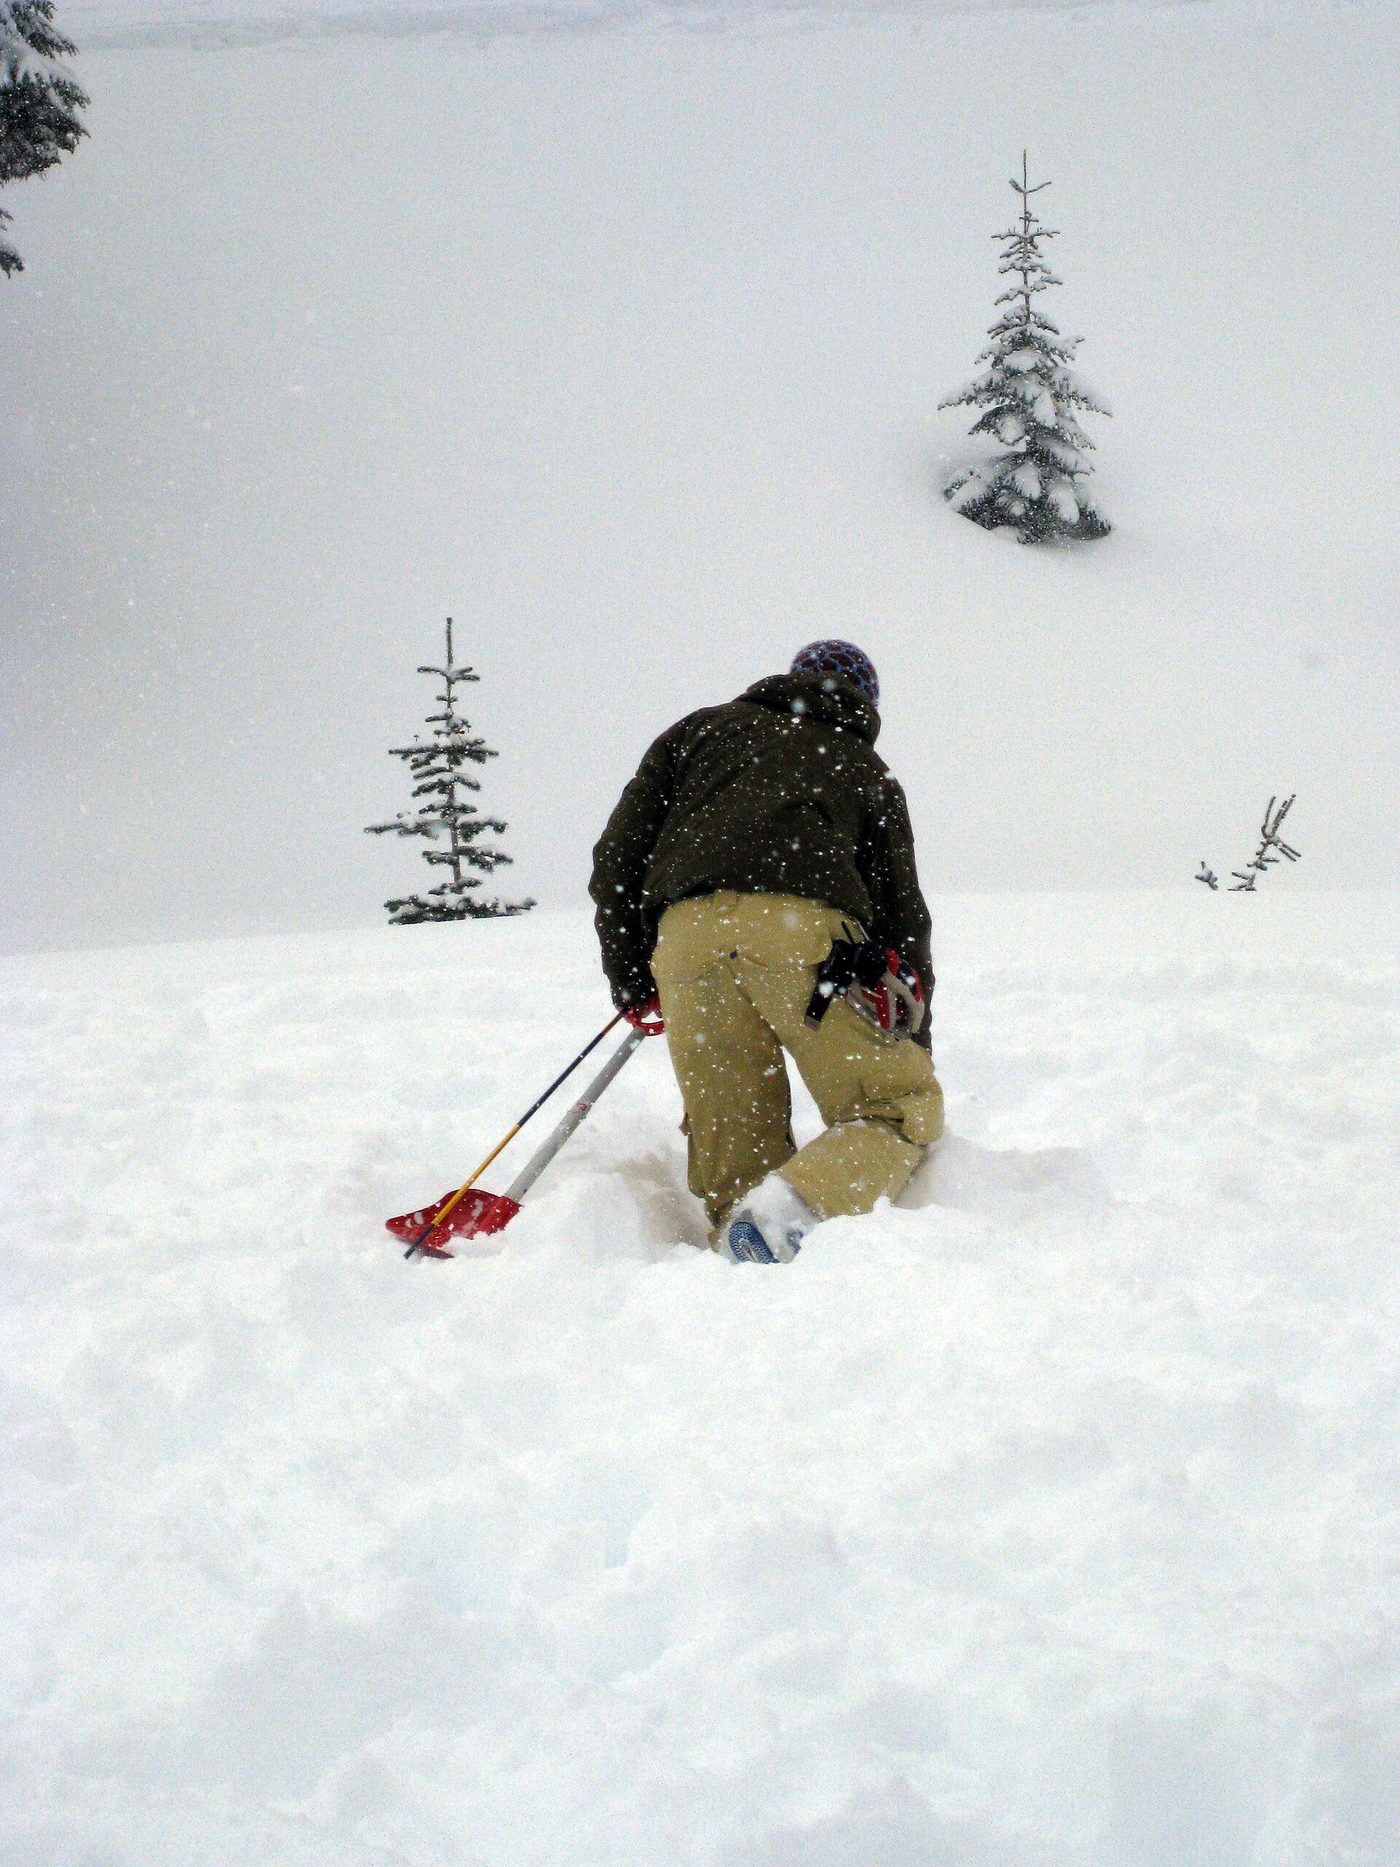
Companion rescue is not optional knowledge. If an avalanche buries a member of your group, the professional rescue teams and their dogs are, on average, more than 20 minutes away — often much longer in the terrain that makes backcountry skiing worthwhile. Someone buried under snow has a survival window measured in minutes, not the hour a helicopter response might take. You and your ski partners are the rescue team, whether you have trained for it or not. AIARE 1 is where that training starts.
Beyond AIARE 1, there is an AIARE 2 course for people managing more complex terrain and group decisions, and standalone rescue refreshers that most guide services recommend retaking every season or two, since companion-rescue skills decay fast without practice. We go deep on exactly what the course covers, day by day, in AIARE Level 1: what the course actually covers.
Can I learn backcountry skiing without a formal course?
You can learn some of it by skiing with an experienced, avalanche-trained partner for a season before taking a course yourself, but this should supplement formal education, not replace it. Informal mentorship teaches route-finding and group habits well; it does not reliably teach the terrain-hazard evaluation and rescue mechanics a structured course drills specifically, which is why every major guide service and avalanche center recommends AIARE 1 as the starting point regardless of who you already ski with.
What does backcountry skiing actually cost to get into?
A full touring setup is a real expense, and it is worth seeing the whole number before you buy anything piece by piece.
| Item | Typical price range | Notes |
|---|---|---|
| Touring skis | $500–$900 | Lighter than resort skis; waist width depends on terrain |
| AT bindings (tech or frame) | $350–$700 | See tech vs. frame comparison below |
| Touring boots | $400–$800 | Walk mode is the non-negotiable feature |
| Climbing skins | $120–$200 | Cut to fit your specific ski |
| Avalanche beacon | $250–$350 | The one item never worth buying used |
| Probe | $40–$70 | Collapsible aluminum or carbon, 240cm+ |
| Shovel | $40–$70 | Metal blade only — plastic collapses in hard debris |
| Touring pack | $150–$300 | Sized to carry the beacon-probe-shovel kit plus layers |
| Total | $2,000–$4,500 | Before an AIARE 1 course at $600–$700 |
That is a big number next to a resort setup, and it is one reason renting or demoing gear for a first season is common practice — several touring shops rent full backcountry kits by the day or the week, which lets you find out whether you actually like the uphill before committing to it financially. We break the full checklist down item by item, including what to rent versus buy first, in the backcountry ski gear checklist.
The beacon, probe and shovel — often called “the avalanche big three” — deserve their own line of scrutiny, because they are the one category where used gear and bargain-shopping are a bad idea. A beacon transmits and receives on 457kHz; older analog beacons and anything without a clear, current manufacturer support record should not go in your pack. We cover what actually matters in each of the three in beacon, shovel and probe: avalanche safety basics.
Tech bindings vs. frame bindings
| Tech (pin) bindings | Frame bindings | |
|---|---|---|
| How they work | Two pins at the toe engage steel inserts built into the boot sole; heel rises free while touring | Boot sits in a full frame that pivots at the toe for touring, locks flat for descent |
| Weight | Significantly lighter | Noticeably heavier |
| Compatibility | Requires touring-specific boots with tech inserts | Works with most existing alpine boots |
| Touring efficiency | Better — less swing weight per stride, adds up over vertical miles | Worse — more energy per step |
| Downhill feel | Close to alpine bindings on modern tech models | Closer to true alpine ski feel, by design |
| Best for | Anyone touring regularly, especially longer or steeper days | Occasional touring on existing gear, resort-to-backcountry crossover skiing |
Tech bindings, pioneered by Dynafit, are the standard choice for anyone who expects to tour more than a handful of days a season, because the weight saved on the uphill compounds over thousands of feet of climbing. Frame bindings still make sense if you already own alpine boots and want to try touring on existing skis before investing in a dedicated setup — cheaper to start, heavier to climb with. Neither is objectively wrong; they answer different questions about how often you expect to use this gear.
How avalanche forecasting works, and why you read it before you leave
Every major US ski region has a regional avalanche center — the Colorado Avalanche Information Center, the Utah Avalanche Center, the Northwest Avalanche Center and others — publishing a daily forecast that rates avalanche danger on a five-level scale from Low to Extreme, broken out by elevation band and aspect (which compass direction a slope faces). Reading that forecast before every tour, not just checking it once a season, is the single habit that separates safe touring from luck.
The forecast tells you what the regional avalanche center’s professional forecasters believe about the current snowpack: which weak layers exist, which aspects and elevations they are most reactive on, and what kind of avalanche problem is most likely — wind slab, persistent slab, wet snow and so on. It does not tell you whether the specific slope you are looking at will slide. That translation, from a regional forecast to a decision about one slope on one day, is exactly what an AIARE course teaches, and it is the part that cannot be skipped by reading the forecast alone.
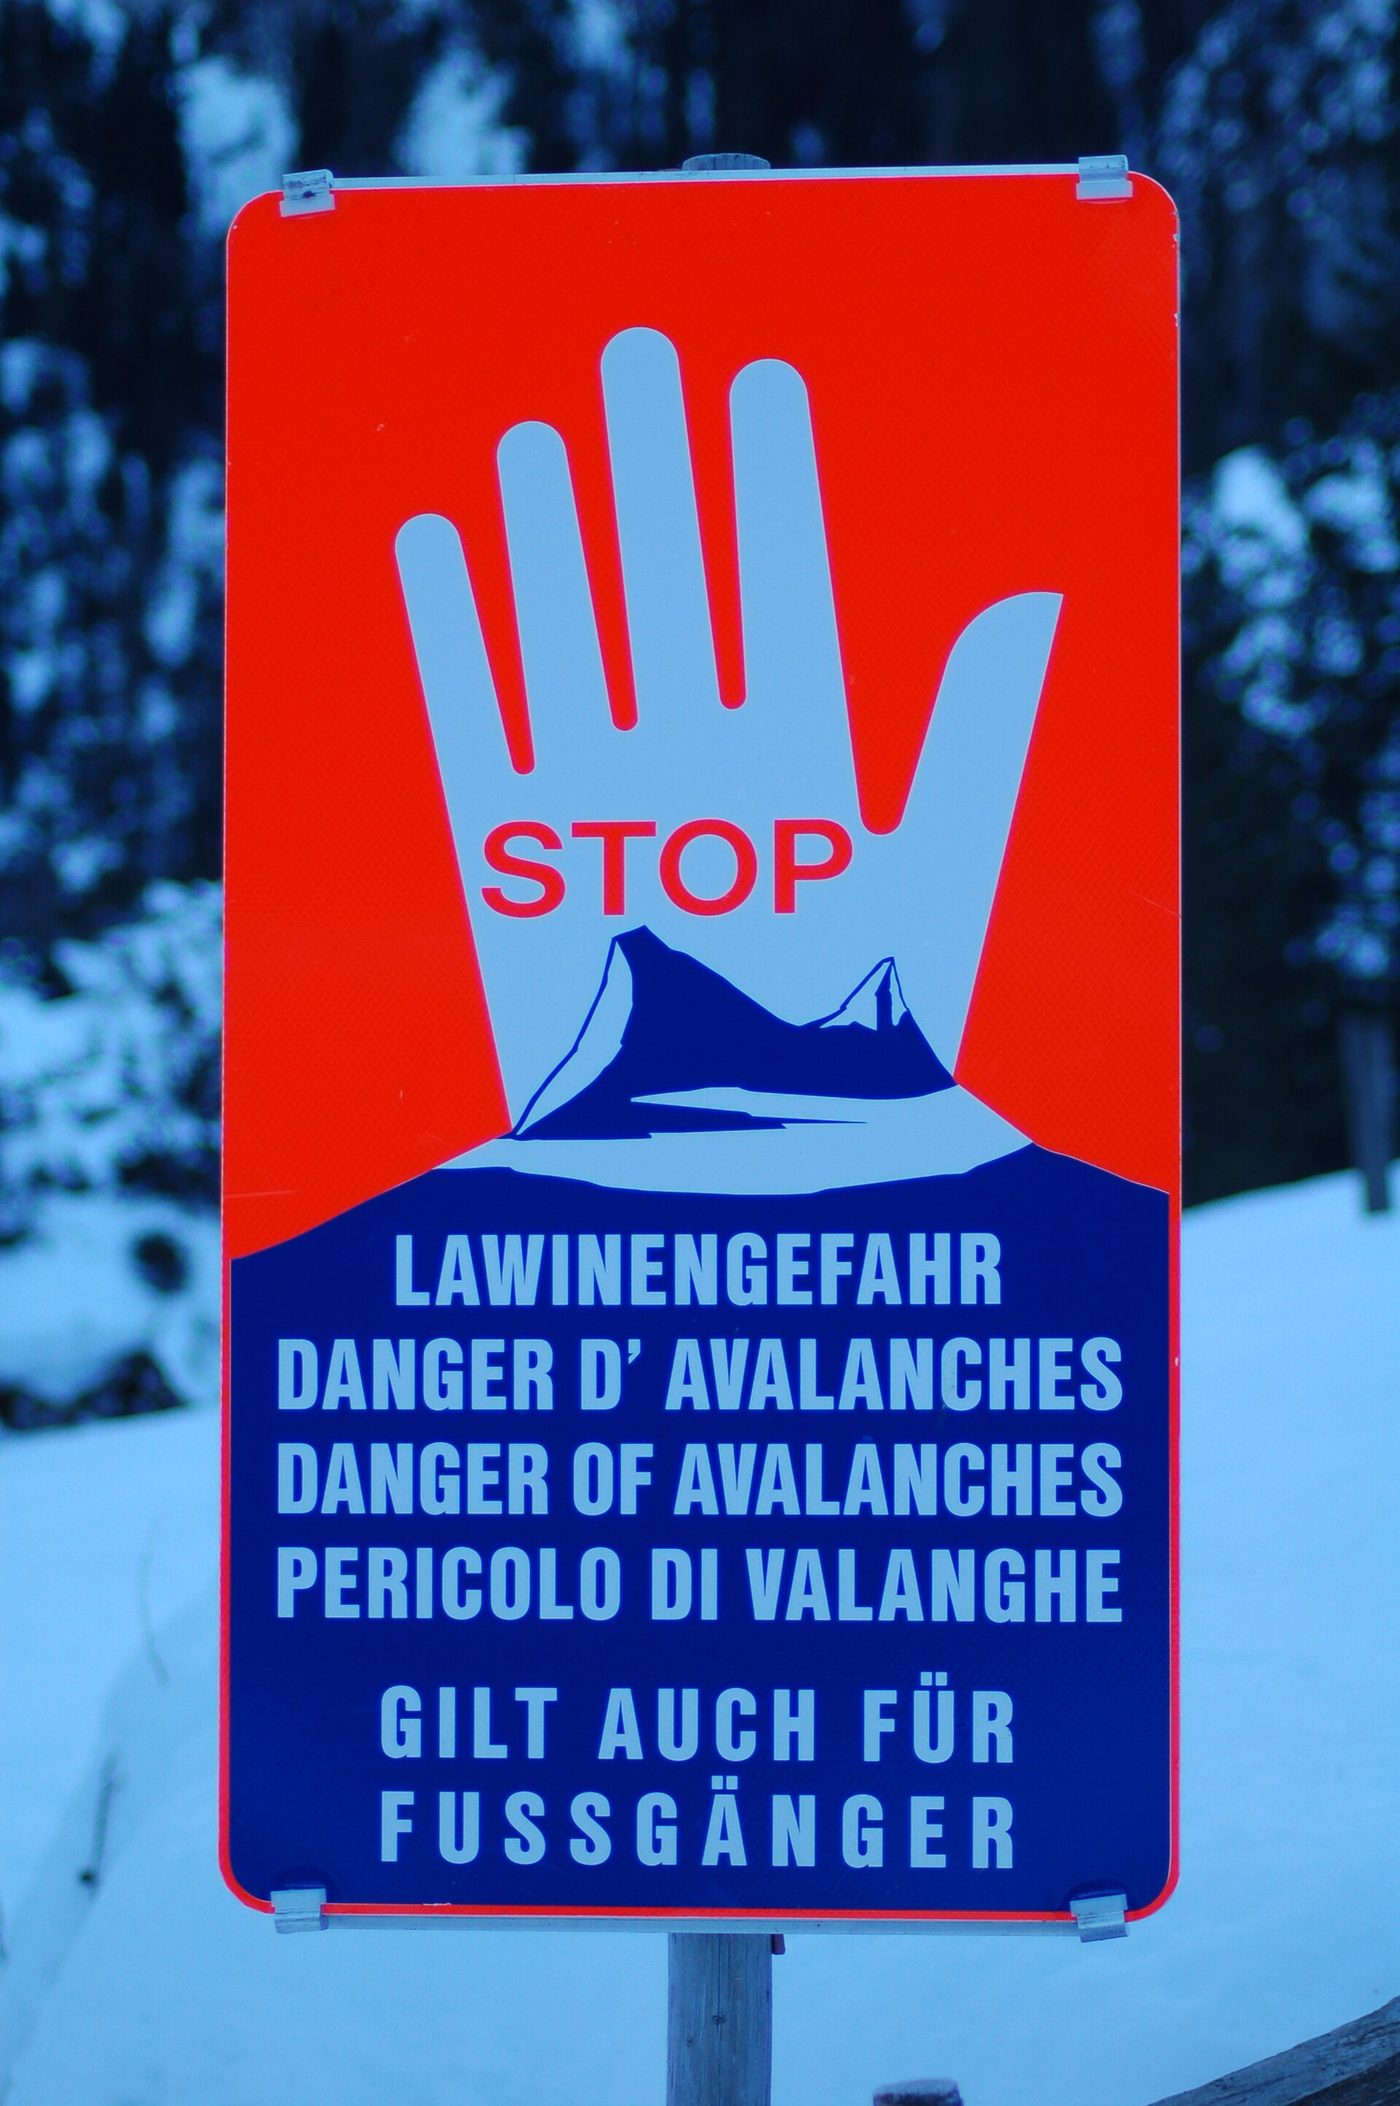
Off-piste terrain in Europe works the same way in principle but differently in practice. European resorts groom and patrol the marked piste only; everything beyond the piste boundary is uncontrolled, even when it is a hundred feet from a lift, and European avalanche forecasts use a similar five-level scale reported by national services rather than regional US-style centers. Anyone touring in the Alps should treat “off-piste” with the same seriousness as backcountry terrain in the US — because it is exactly that.
We walk through how to actually read a forecast, aspect by aspect, in how to read an avalanche forecast.
The avalanche danger scale, decoded
Regional avalanche centers rate danger on a standardized five-level scale, and learning to read it is worth doing before you ever open a forecast for a specific trip.
| Level | Likelihood | What it generally means for travel |
|---|---|---|
| 1 — Low | Natural and human-triggered avalanches unlikely | Generally safe conditions; isolated instability possible near steep, extreme terrain |
| 2 — Moderate | Human-triggered avalanches possible | Evaluate snow and terrain carefully; identify features of concern |
| 3 — Considerable | Human-triggered avalanches likely | Dangerous conditions; cautious route-finding and conservative decision-making essential |
| 4 — High | Human-triggered avalanches very likely | Travel in avalanche terrain not recommended; safest travel on low-angle terrain well away from runout zones |
| 5 — Extreme | Widespread natural and human-triggered avalanches certain | Avoid all avalanche terrain |
Two things trip up beginners here. First, “Moderate” sounds reassuring and is the danger level present on a large share of avalanche fatalities nationally, because it is common and people let their guard down on it — Considerable, not Extreme, is the single most frequent rating on accident days, precisely because groups treat it as skiable without adjusting their terrain choices enough. Second, the rating is not a single number for the whole region: forecasts break danger out by elevation band (below treeline, near treeline, above treeline) and often by aspect, and a slope can sit at a materially different danger level than the valley floor you drove in on. Reading the full forecast, not just the headline number, is the habit AIARE training builds.
How to plan a tour, before you leave the house
A real tour plan happens the night before, not at the trailhead, and it follows roughly the same steps every time:
- Read the full avalanche forecast for the zone, including the discussion, not just the danger rating — the discussion explains which aspects and elevations are the concern and why.
- Check the weather forecast separately, since visibility, wind loading and temperature swings all change the plan independently of the avalanche rating.
- Pick a primary objective and a backup that is deliberately more conservative, so the group has an agreed fallback if conditions on the ground look worse than the forecast suggested.
- Set a turnaround time before leaving, tied to the clock rather than to how close the group feels to the summit, and commit to honoring it.
- Tell someone not on the trip your plan and expected return time. This is the step most often skipped and the one that matters most if a rescue becomes necessary.
- Check in with the group at the trailhead — gear, beacon batteries, comfort with the plan — before starting to climb, since this is the last easy point to change the objective.
None of this replaces in-field judgment, but a group that has done these six things arrives at every terrain decision with far better information than a group that decided to “go see how it looks.”
Beyond the big three: what else goes in the pack
The beacon, probe and shovel get the attention, but a touring pack that only holds those three items is missing things that matter on a bad day. A basic repair kit (ski strap, multi-tool, spare binding parts), an insulating layer beyond what you are climbing in, extra food and water beyond what the tour should need, a first-aid kit, and a lightweight bivy or emergency blanket are standard in most experienced tourers’ packs — not because every tour goes wrong, but because the tours that do go wrong tend to go wrong for hours, not minutes, and an unplanned night out is a survivable inconvenience with the right gear and a genuine emergency without it. Many touring packs are built specifically around carrying this kit alongside skis (via an A-frame or diagonal carry) for the sections where skinning isn’t possible.
Guided vs. independent: what a first season actually costs
| Path | Rough first-season cost | What you get |
|---|---|---|
| Independent, own gear | $2,600–$5,200 (setup + AIARE 1) | Full ownership, fastest access after the course, steepest learning curve |
| Independent, rented gear | $700–$1,200 (rentals + AIARE 1) | Lower upfront cost, good for confirming you want to continue |
| Guided days, rented or owned gear | $400–$900 per day, on top of gear | Active, in-field terrain teaching; compresses experience fastest |
There is no single right path, and most experienced tourers used some blend of all three — a course, some rented days to confirm the sport was worth the investment, and at least a few guided days to accelerate past the mistakes that come from learning entirely from peers at the same experience level. The hiring a backcountry ski guide guide breaks down when a guided day is worth the price versus when it isn’t.
Is backcountry skiing dangerous?
Yes, meaningfully more dangerous than resort skiing, though the risk is manageable with training and conservative terrain choices. Avalanches kill an average of roughly 27 people per year in the United States over the past decade, according to the Colorado Avalanche Information Center’s national tracking — nearly all of them backcountry travelers, not resort skiers, because avalanche-controlled terrain inside resort boundaries removes almost all of that risk. The number varies significantly by season and snowpack; some winters run well below that average, others well above it.
That figure is sobering, but it is worth reading correctly. Avalanche fatalities cluster heavily around specific, identifiable mistakes: skiing a slope steep enough to slide (generally 30 degrees or steeper) during a period of elevated danger, skiing one at a time in a way that exposes multiple people at once, or skiing terrain the group had not actually discussed and agreed on before leaving the trailhead. Nearly every published accident report from the major avalanche centers identifies a decision point where the group had information suggesting caution and chose the objective anyway. That is the pattern AIARE training exists to interrupt.
The honest comparison: resort skiing carries its own injury risk — collisions, falls, terrain features — that backcountry skiing generally does not share, since backcountry days are typically slower-paced and less crowded. What backcountry skiing adds is a low-probability, high-consequence risk that resort skiing has mostly engineered away. Managing that trade honestly, rather than pretending either sport is risk-free, is the point of this whole guide.
What a sane first season looks like
There is a version of a first backcountry season that goes badly, and it has a recognizable shape: someone buys a full gear setup off a gear-shop recommendation, skips or delays the course because a friend already tours and can “show them the ropes,” and ends up on terrain steeper or more exposed than intended within the first few outings because nobody in the group was actually trained to recognize it. None of that requires bad luck to go wrong — it just requires one storm cycle to build a weak layer nobody in the group knew to look for. The version that goes well looks almost boringly disciplined by comparison, and it holds up across seasons:
- Take AIARE 1 before you own a full kit. Several providers rent gear for the course itself, so you do not need to buy anything to find out if you like it.
- Ski with people more experienced than you, and say so out loud. A group that knows one member is new to touring makes more conservative terrain choices than one that assumes everyone’s judgment is equal.
- Start on low-angle terrain, well under 30 degrees, even after the course. Most beginner accidents involve terrain steeper than the group meant to be on, not exotic snow science failures.
- Practice a companion rescue with your actual gear, in your own yard or a local park, before you need it for real. Digging a beacon search out of a snowbank takes practice to do quickly; the first time should not be during an actual burial.
- Consider uphill skiing at a resort as a low-stakes way to build touring fitness and gear familiarity, since many US resorts now allow skinning up groomed runs before or after operating hours under specific rules. It will not teach avalanche skills, but it builds the aerobic and gear-handling base that makes the first real backcountry days less overwhelming. Policies vary a lot by resort — see uphill skiing at resorts: policies and etiquette.
- Hire a guide for your first few real tours if you do not have an experienced mentor. It costs more per day than skiing with friends, but a certified guide is actively teaching terrain judgment on every run, which compresses a season or two of trial and error into a handful of days. We cover when that is worth it in hiring a backcountry ski guide: when and why.
- Consider a hut trip once you have a season of touring fitness and companion-rescue practice behind you, not as a first outing. Multi-day hut and yurt trips concentrate the same terrain and weather decisions over several days instead of one, which rewards experience. See hut trips and yurt skiing.
Ski touring vs. splitboarding
Snowboarders access the same backcountry terrain on a splitboard, which separates into two ski-shaped halves with skins attached for the climb, then reassembles into a normal snowboard for the descent. The avalanche education, forecasting and rescue skills are identical regardless of which you ride — a splitboard changes the climbing mechanics, not the terrain-hazard evaluation. The two communities share terrain, share courses and share guide services; the equipment choice comes down to whether you already ride a snowboard downhill. Full comparison in ski touring vs. splitboarding.
Where beginners actually go
Some of the best-known backcountry zones in the US — Colorado’s Berthoud Pass and the San Juans, Utah’s Wasatch backcountry above Salt Lake City, the Sierra east of Lake Tahoe, Washington’s Mount Baker backcountry — are well-trafficked enough that a first-season tourer skiing with a knowledgeable partner will usually find a track already broken and other groups nearby, which is a genuinely useful safety margin over skiing somewhere remote and alone. That popularity is also why avalanche centers cover these zones in the most detail, which makes the forecast more useful, not less.
Popularity cuts the other way too. A well-known zone on a bluebird Saturday after a storm draws a crowd, and more people on a slope means more chances for one person’s trigger to catch several others — a documented factor in some of the more serious backcountry accidents involving multiple parties who had not coordinated with each other. Skiing a busy zone is not inherently worse than skiing somewhere remote, but it changes the risk picture: watch what other groups are doing on the same slope, and do not assume a track someone else put in means that line is safe for you to repeat. We rank the best US zones for different experience levels, including which are best suited to a first season, in best backcountry ski zones in the US.
Frequently asked questions
How long does it take to become a competent backcountry skier?
Most experienced tourers and guide services put the realistic timeline at two to three full seasons of regular touring after an initial AIARE 1 course, combining formal education (AIARE 2 for many) with enough days in the field to build real terrain judgment. Nobody graduates from a weekend course into independent decision-making; the course teaches the framework, and seasons of supervised practice fill it in.
Do I need to be an expert skier to start touring?
No, but you should be a confident, comfortable intermediate skier able to handle variable, ungroomed snow in control before adding avalanche terrain and physical exhaustion to the mix. Backcountry snow is rarely groomed and often variable — breakable crust, heavy powder, wind-affected snow — and a skier who is still working on fundamentals on a groomed blue run at a resort will struggle disproportionately once ski quality and fatigue are added.
What is the difference between backcountry skiing and side-country skiing?
Backcountry skiing starts from a trailhead with no resort involvement at all; sidecountry is accessed through a resort boundary gate, often a short hike from a chairlift. Sidecountry terrain carries identical avalanche risk to deep backcountry — it is not patrolled or controlled — but its proximity to a resort leads many skiers to underestimate that risk, which avalanche centers consistently flag as a contributing factor in sidecountry accidents.
Can beginners rent backcountry gear instead of buying it?
Yes — most mountain towns with active touring communities have shops that rent full kits (skis, boots, bindings, skins, and often beacon-probe-shovel separately) by the day or week, and several AIARE course providers include rental gear in the course price. Renting for a season is a common, sensible way to confirm you want to invest in a full setup before spending $2,000 or more.
What is the best time of year to start backcountry skiing?
Late winter and early spring — after a deep, more settled snowpack has built up and before the days get long enough for consistent corn-snow cycles — is generally the most forgiving stretch for beginners, since the persistent weak layers that cause many of the season’s most dangerous avalanche problems are more common in early and mid-season snowpacks. This is a generalization, not a rule for any specific winter; the current forecast for your zone always overrides a seasonal rule of thumb.
Do I need my own vehicle with four-wheel drive to go backcountry skiing?
Not always — many popular US touring zones, including parts of the Wasatch above Salt Lake City and several Colorado trailheads, are reachable by regular car or even public transit in a plowed lot. But mountain trailhead access varies enormously by region and storm cycle, and some of the best zones genuinely require four-wheel drive or a snowmobile shuttle in a big winter, so check specific trailhead access as part of planning each tour rather than assuming.
Sources
- AIARE — course levels and curriculum
- Colorado Avalanche Information Center — accident statistics and reporting
- Colorado Avalanche Information Center — US avalanche fatalities
- Colorado Sun — Eagle County avalanche, first fatality of 2025-26 season
Image credits
| Image | Photographer | Licence | Source |
|---|---|---|---|
| Backcountry powder skiing, Wasatch, Utah (featured image) | Intermountain Forest Service, USDA Region 4 | Public domain | Commons |
| Ski touring, Talkeetna Mountains, Alaska | Paxson Woelber | CC BY-SA 4.0 | Commons |
| Ski Area Boundary sign, Aspen Highlands | Zach Dischner | CC BY 2.0 | Commons |
| Avalanche rescue practice | Ruth Hartnup | CC BY 2.0 | Commons |
| Avalanche danger sign, Austrian Alps | Herzi Pinki | CC BY-SA 3.0 | Commons |
| Backcountry ski touring at sunrise, Iceland | HelgaFjallo | CC BY-SA 4.0 | Commons |